Managing users within Pricefy is a crucial feature that allows you to control access, assign roles, and monitor the activities of different team members in your account. This guide will walk you through the steps to effectively manage users in Pricefy.
Accessing the User Management Section
- Log in to Pricefy: Begin by logging into your Pricefy account with your administrator credentials.
- Navigate to My Account:
- On the left-hand menu, click on My Account.
- In the My Account menu, select Users Management.
Adding a New User
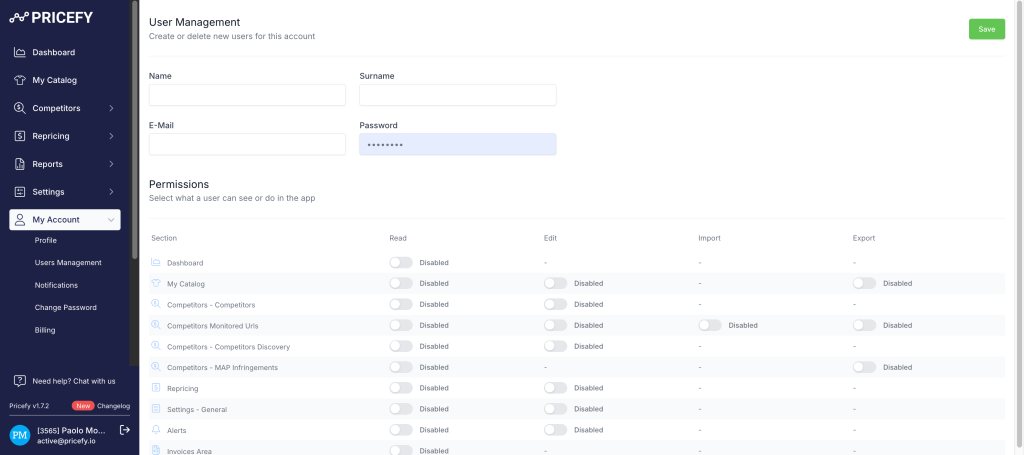
- Click on “Add New”: In the Users Management section, click the Add New button, typically located at the top right of the page.
- Enter User Details:
- Name / Surname: Enter name and surname of the user.
- Email: Provide the email address where the user will receive their login credentials.
- Password: Don’t need to choose one. Pricefy will send an autogenerated password to the user.
- Permissions: Select the appropriate permissions from the list.
- Set Permissions: Depending on the user’s role, you may need to customize permissions, allowing or restricting access to certain features or data within Pricefy.
- Send Invitation: Once all details are filled out, click Save. The new user will receive an email with instructions to set up their account and log in.
Deactivating or Removing a User
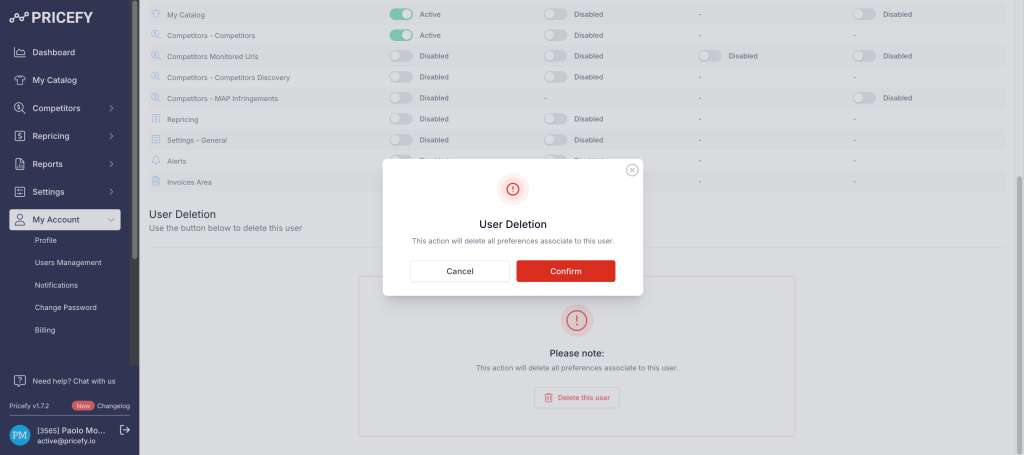
- Remove a User: To permanently remove a user from your Pricefy account, click on Delete this user button at the end of the page.
- Confirm the removal when prompted. Note that this action is irreversible, and the user’s data will be deleted from the system.
Tips for Effective User Management
- Regularly Review User Roles: Periodically review user roles and permissions to ensure they align with the user’s responsibilities.
- Limit Access: Assign the least amount of access necessary for each role to maintain security and data integrity.
- Monitor Activity: Regularly check activity logs to ensure no unauthorized changes have been made to your account.
By following this guide, you can efficiently manage users within Pricefy, ensuring that your team has the appropriate access while maintaining control and security over your account.
For more detailed information or support, feel free to reach out to Pricefy’s customer service team.