To create a report in Pricefy, start from one of 40 ready-made templates — or build a custom report — then choose the products and competitors it covers, how often it runs, the file format and who receives it. Pricefy then generates and delivers it automatically on that schedule.
Open the report gallery
On the Reports page, click Create Report. The Choose a Report gallery opens with the ready-made reports grouped by topic — Pricing, Stock, Catalog, Competitors, MAP and Data quality:
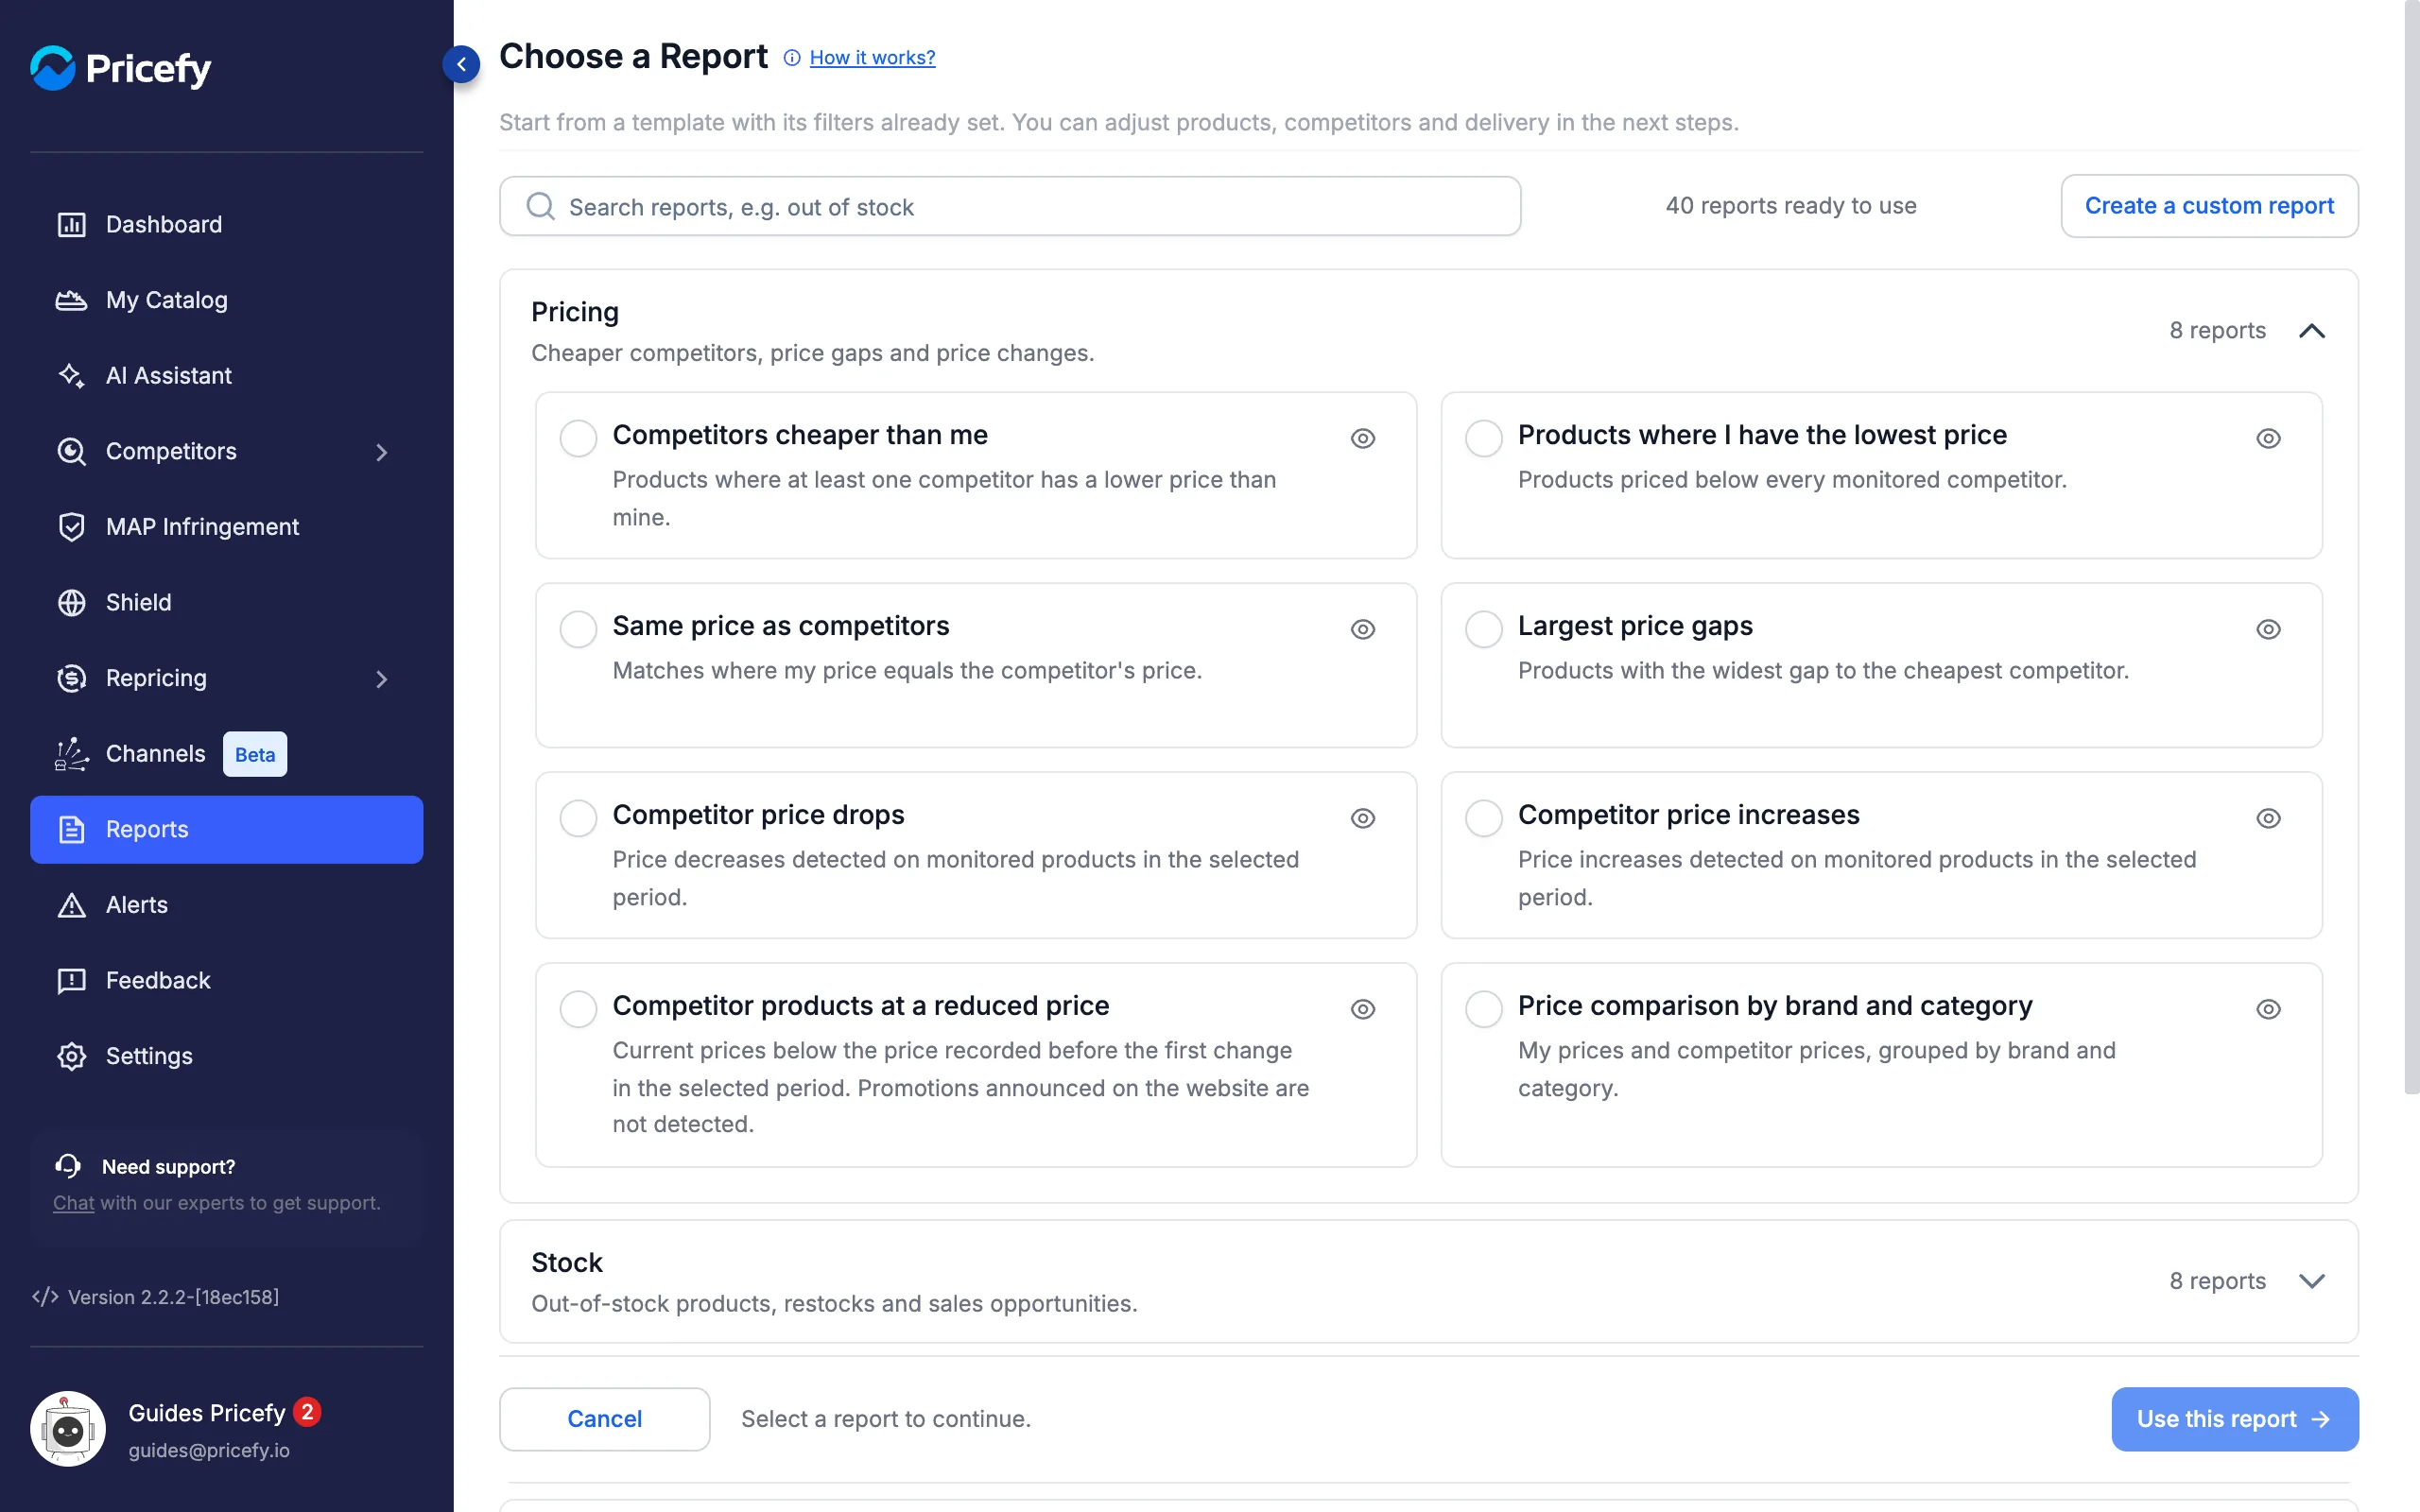
- Open a group to see its reports, each with a one-line description.
- Search reports — type a word such as stock or MAP to filter the whole gallery.
- Create a custom report — skip the templates and build the report yourself (see below).
Click the eye icon on a template to see an example of the email it sends, filled with sample data (no email is sent):
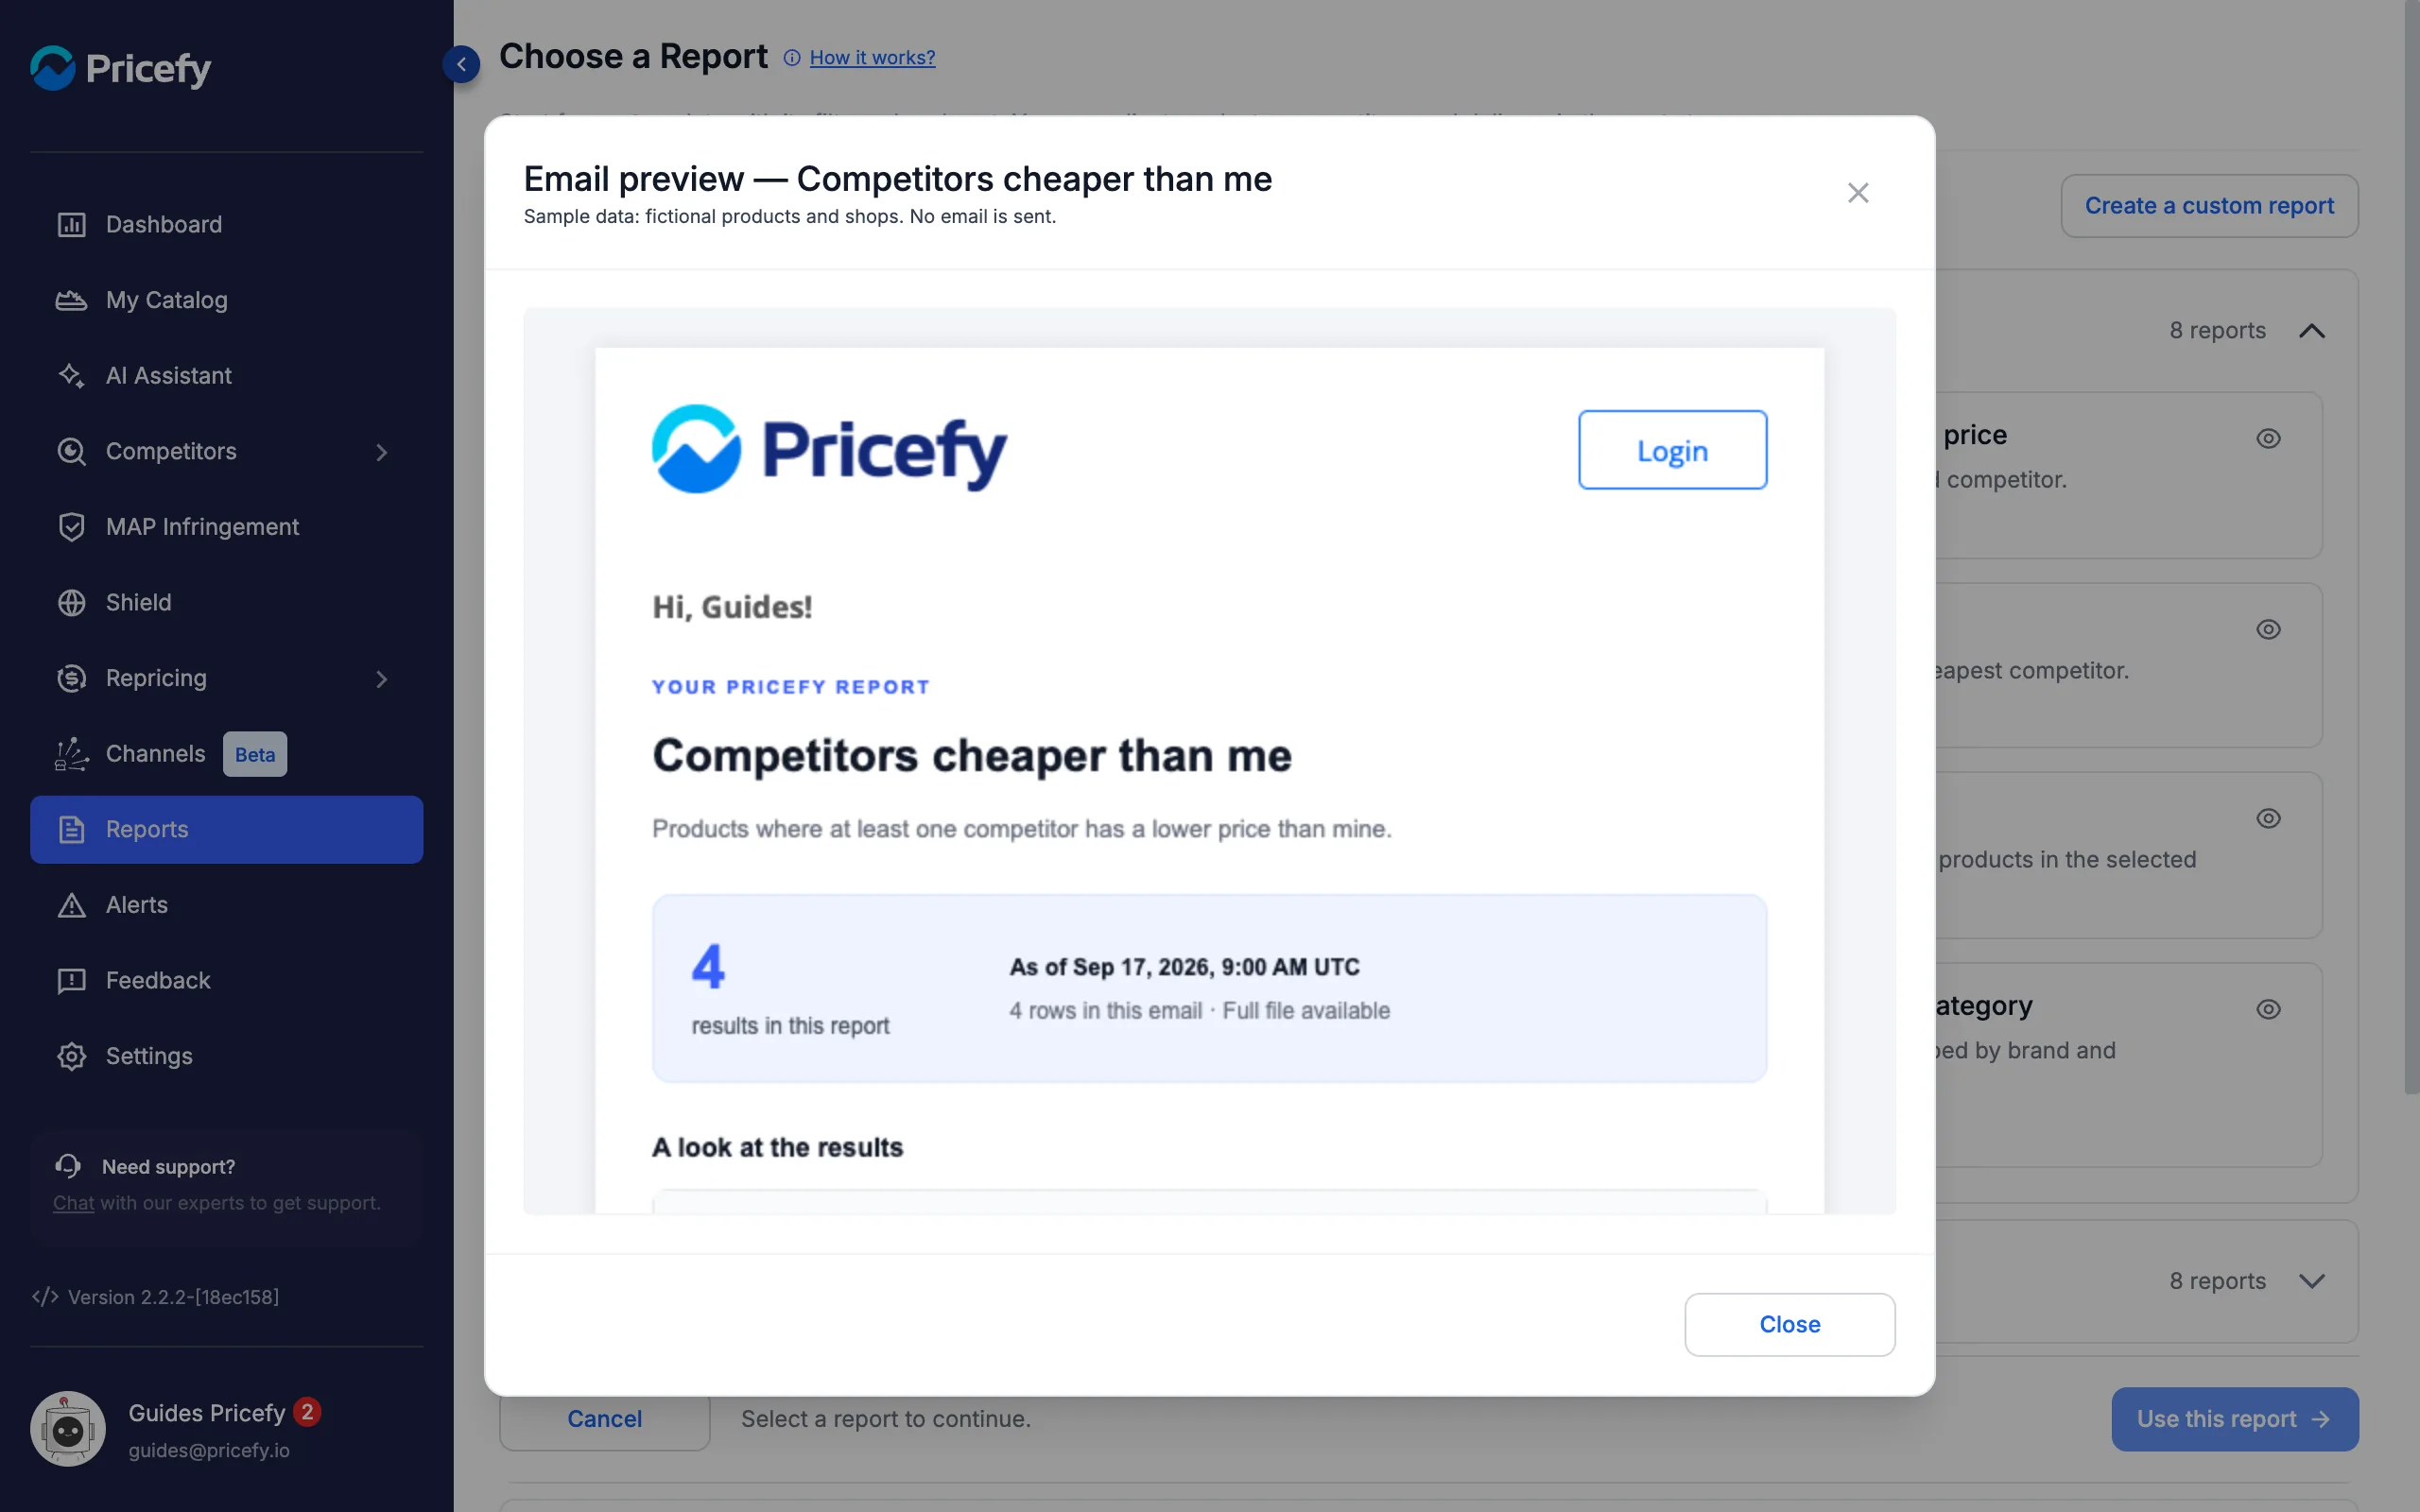
For a description of every template, see Report templates: every ready-made report.
Create a report from a template
Select a template and click Use this report. The builder opens on a short series of steps, listed on the right.
Step 1 — General Settings
The template you chose sits at the top; click Change template to pick another. Below it, set how the report is delivered:
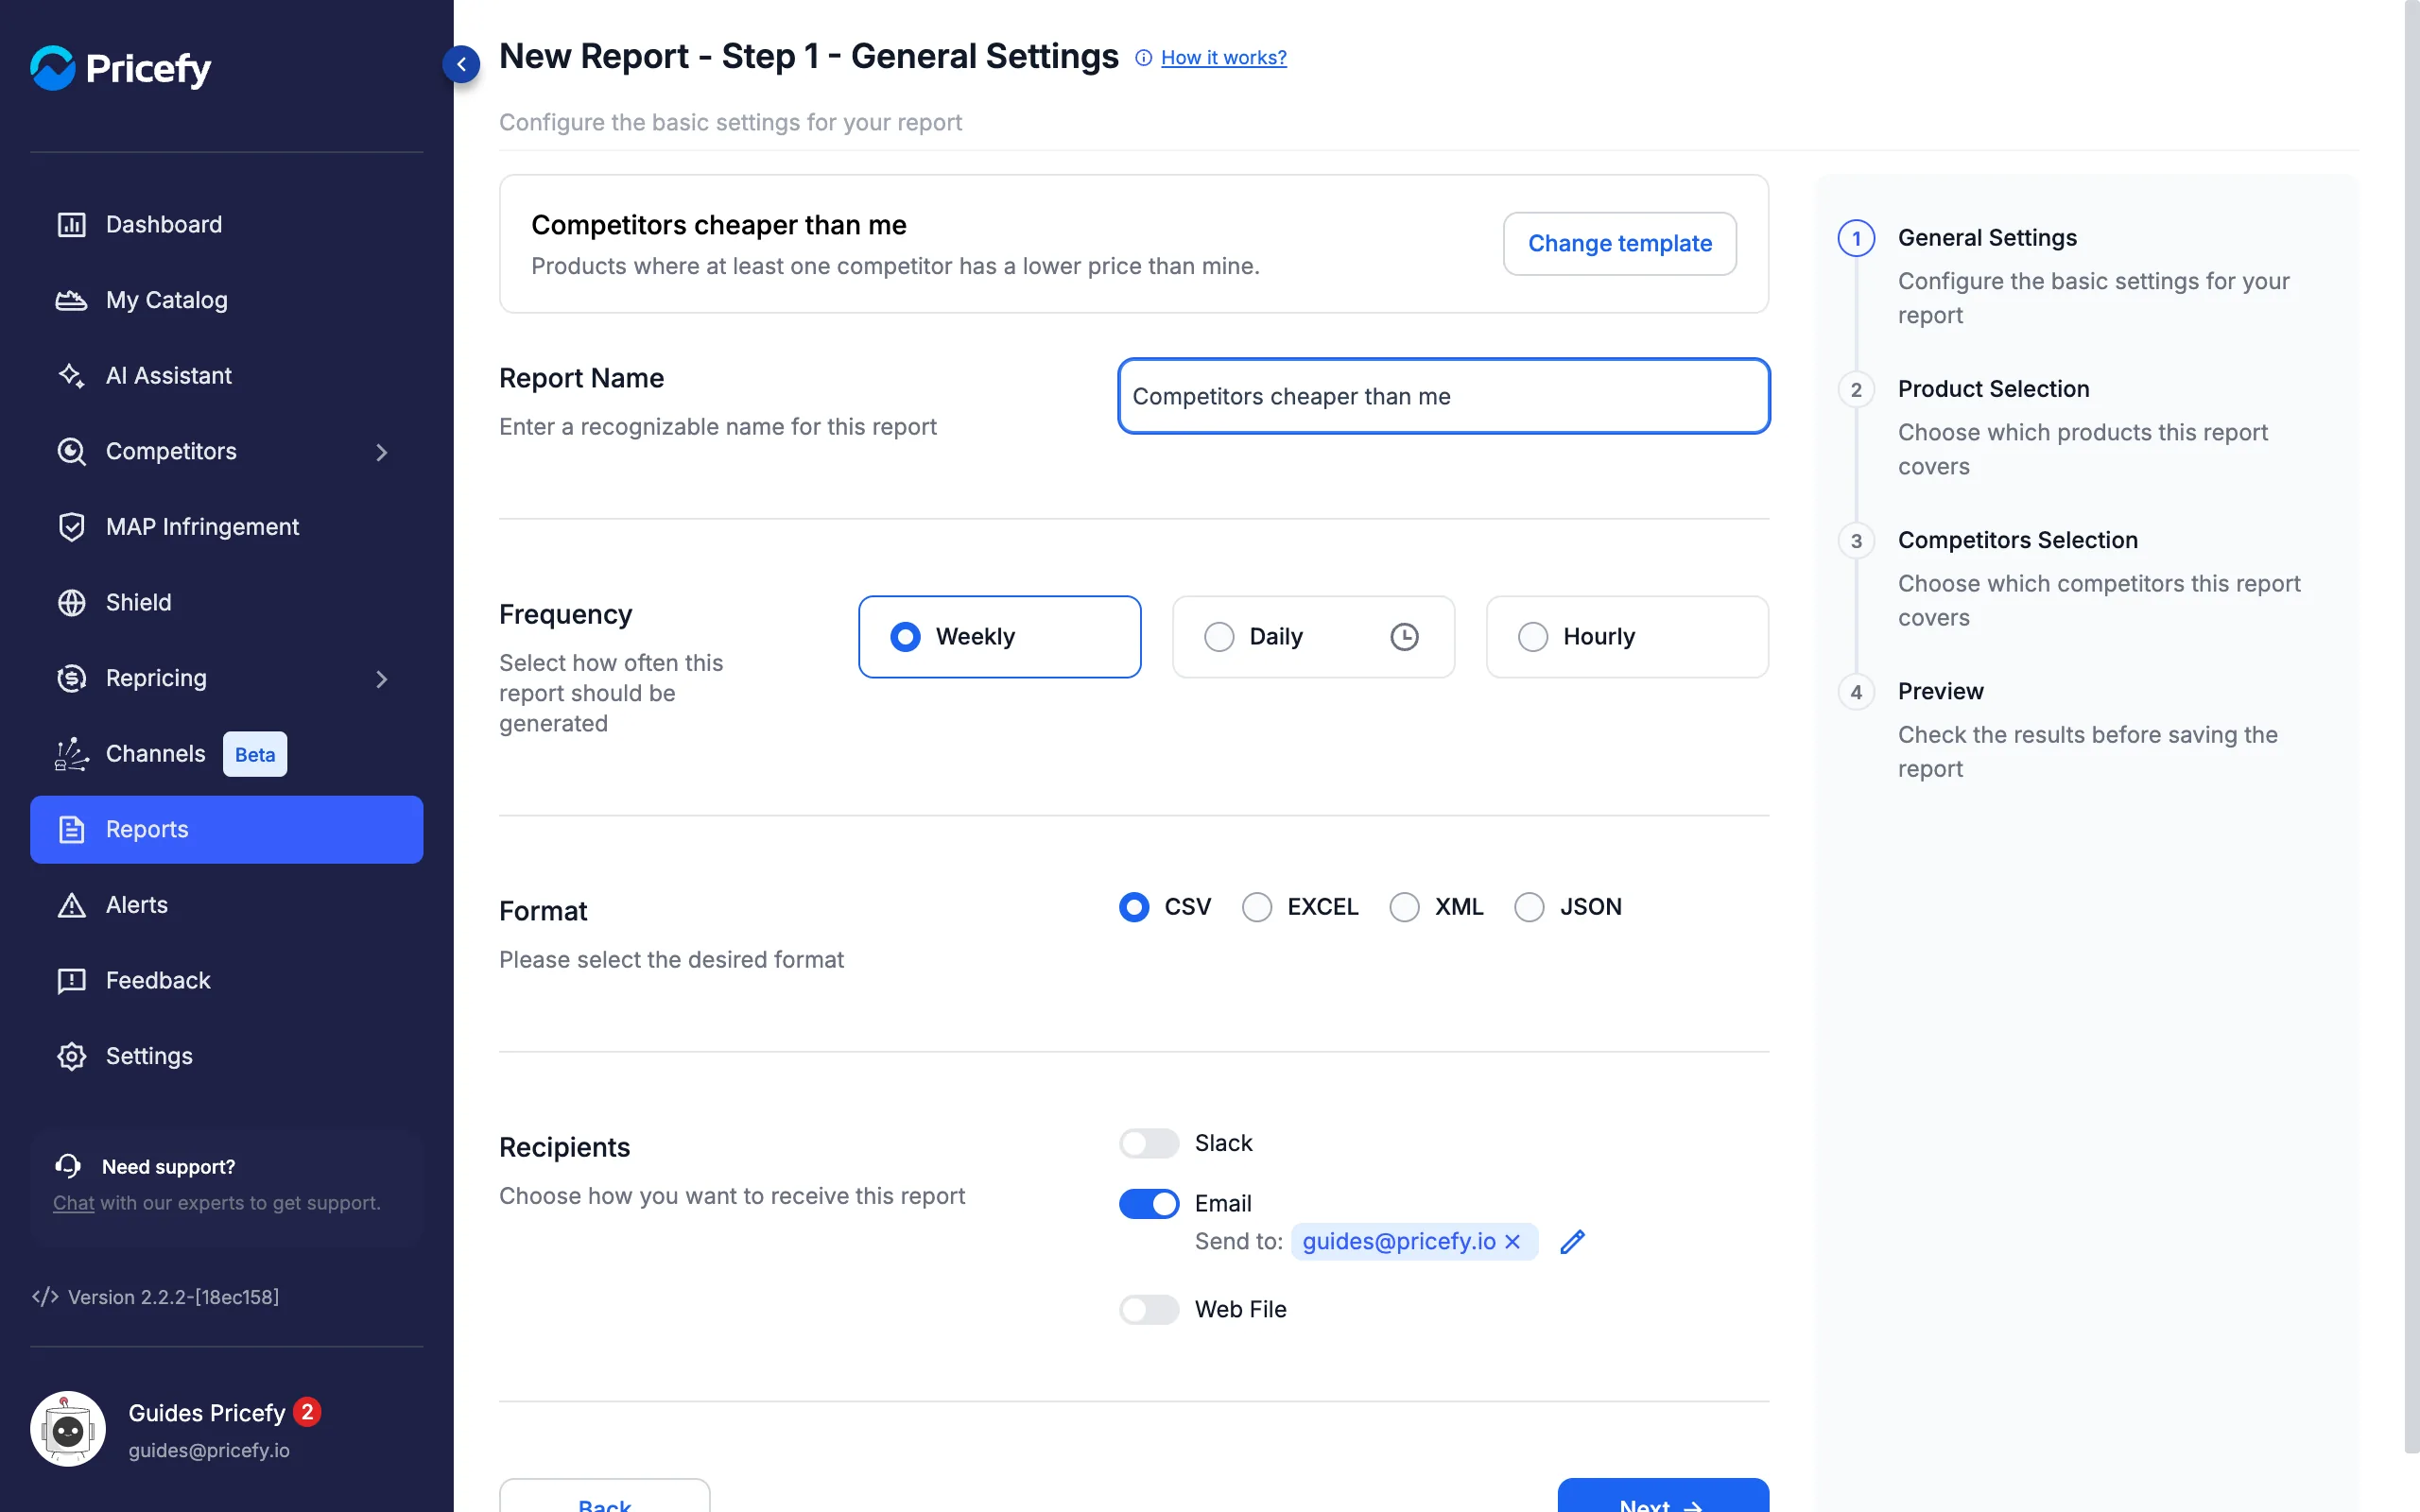
- Report Name — a name you will recognise in your reports list.
- Frequency — Weekly, Daily (click the clock to choose the time) or Hourly.
- Format — CSV, EXCEL, XML or JSON.
- Recipients — Email and/or Web File; see Choose the recipients below.
Step 2 — Product Selection
Every product is included by default. To narrow it down, use Simple Filters, Query Builder or Select Products From List, with the Include / Exclude switch:
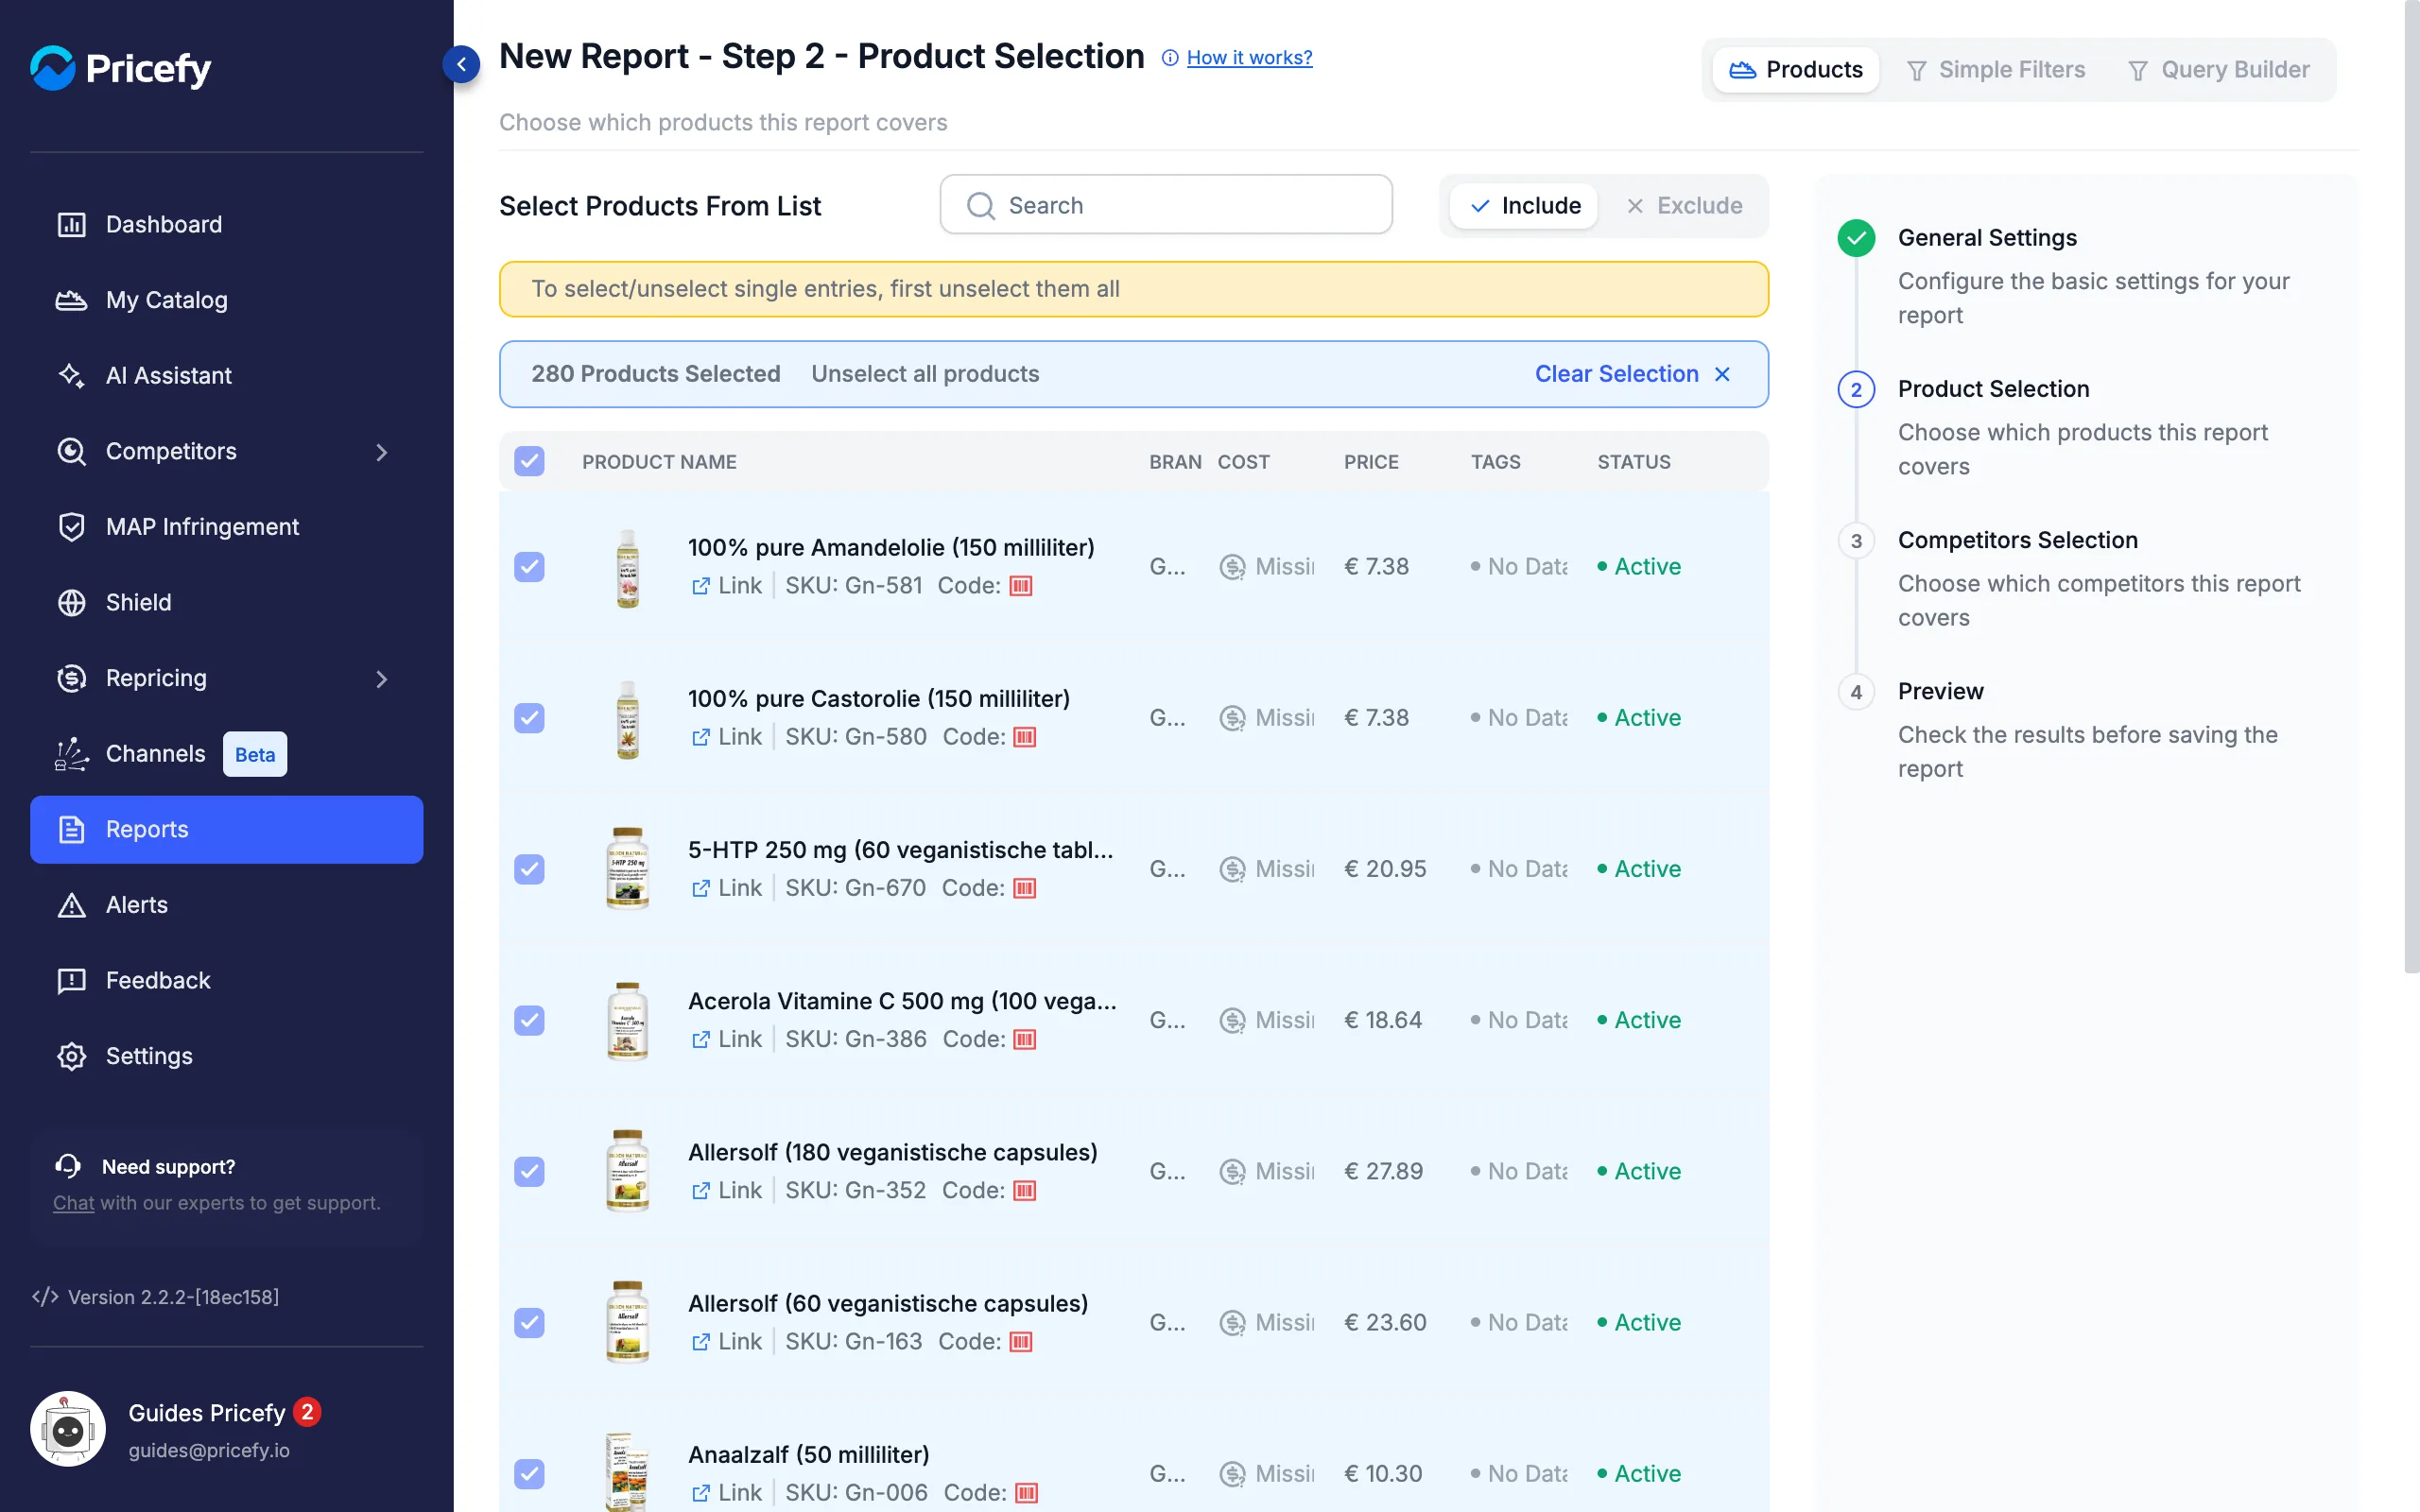
To pick single products from the list, first click Unselect all products, then tick the ones you want.
Step 3 — Competitors Selection
Every active competitor is included by default; click Unselect all competitors to choose single ones:
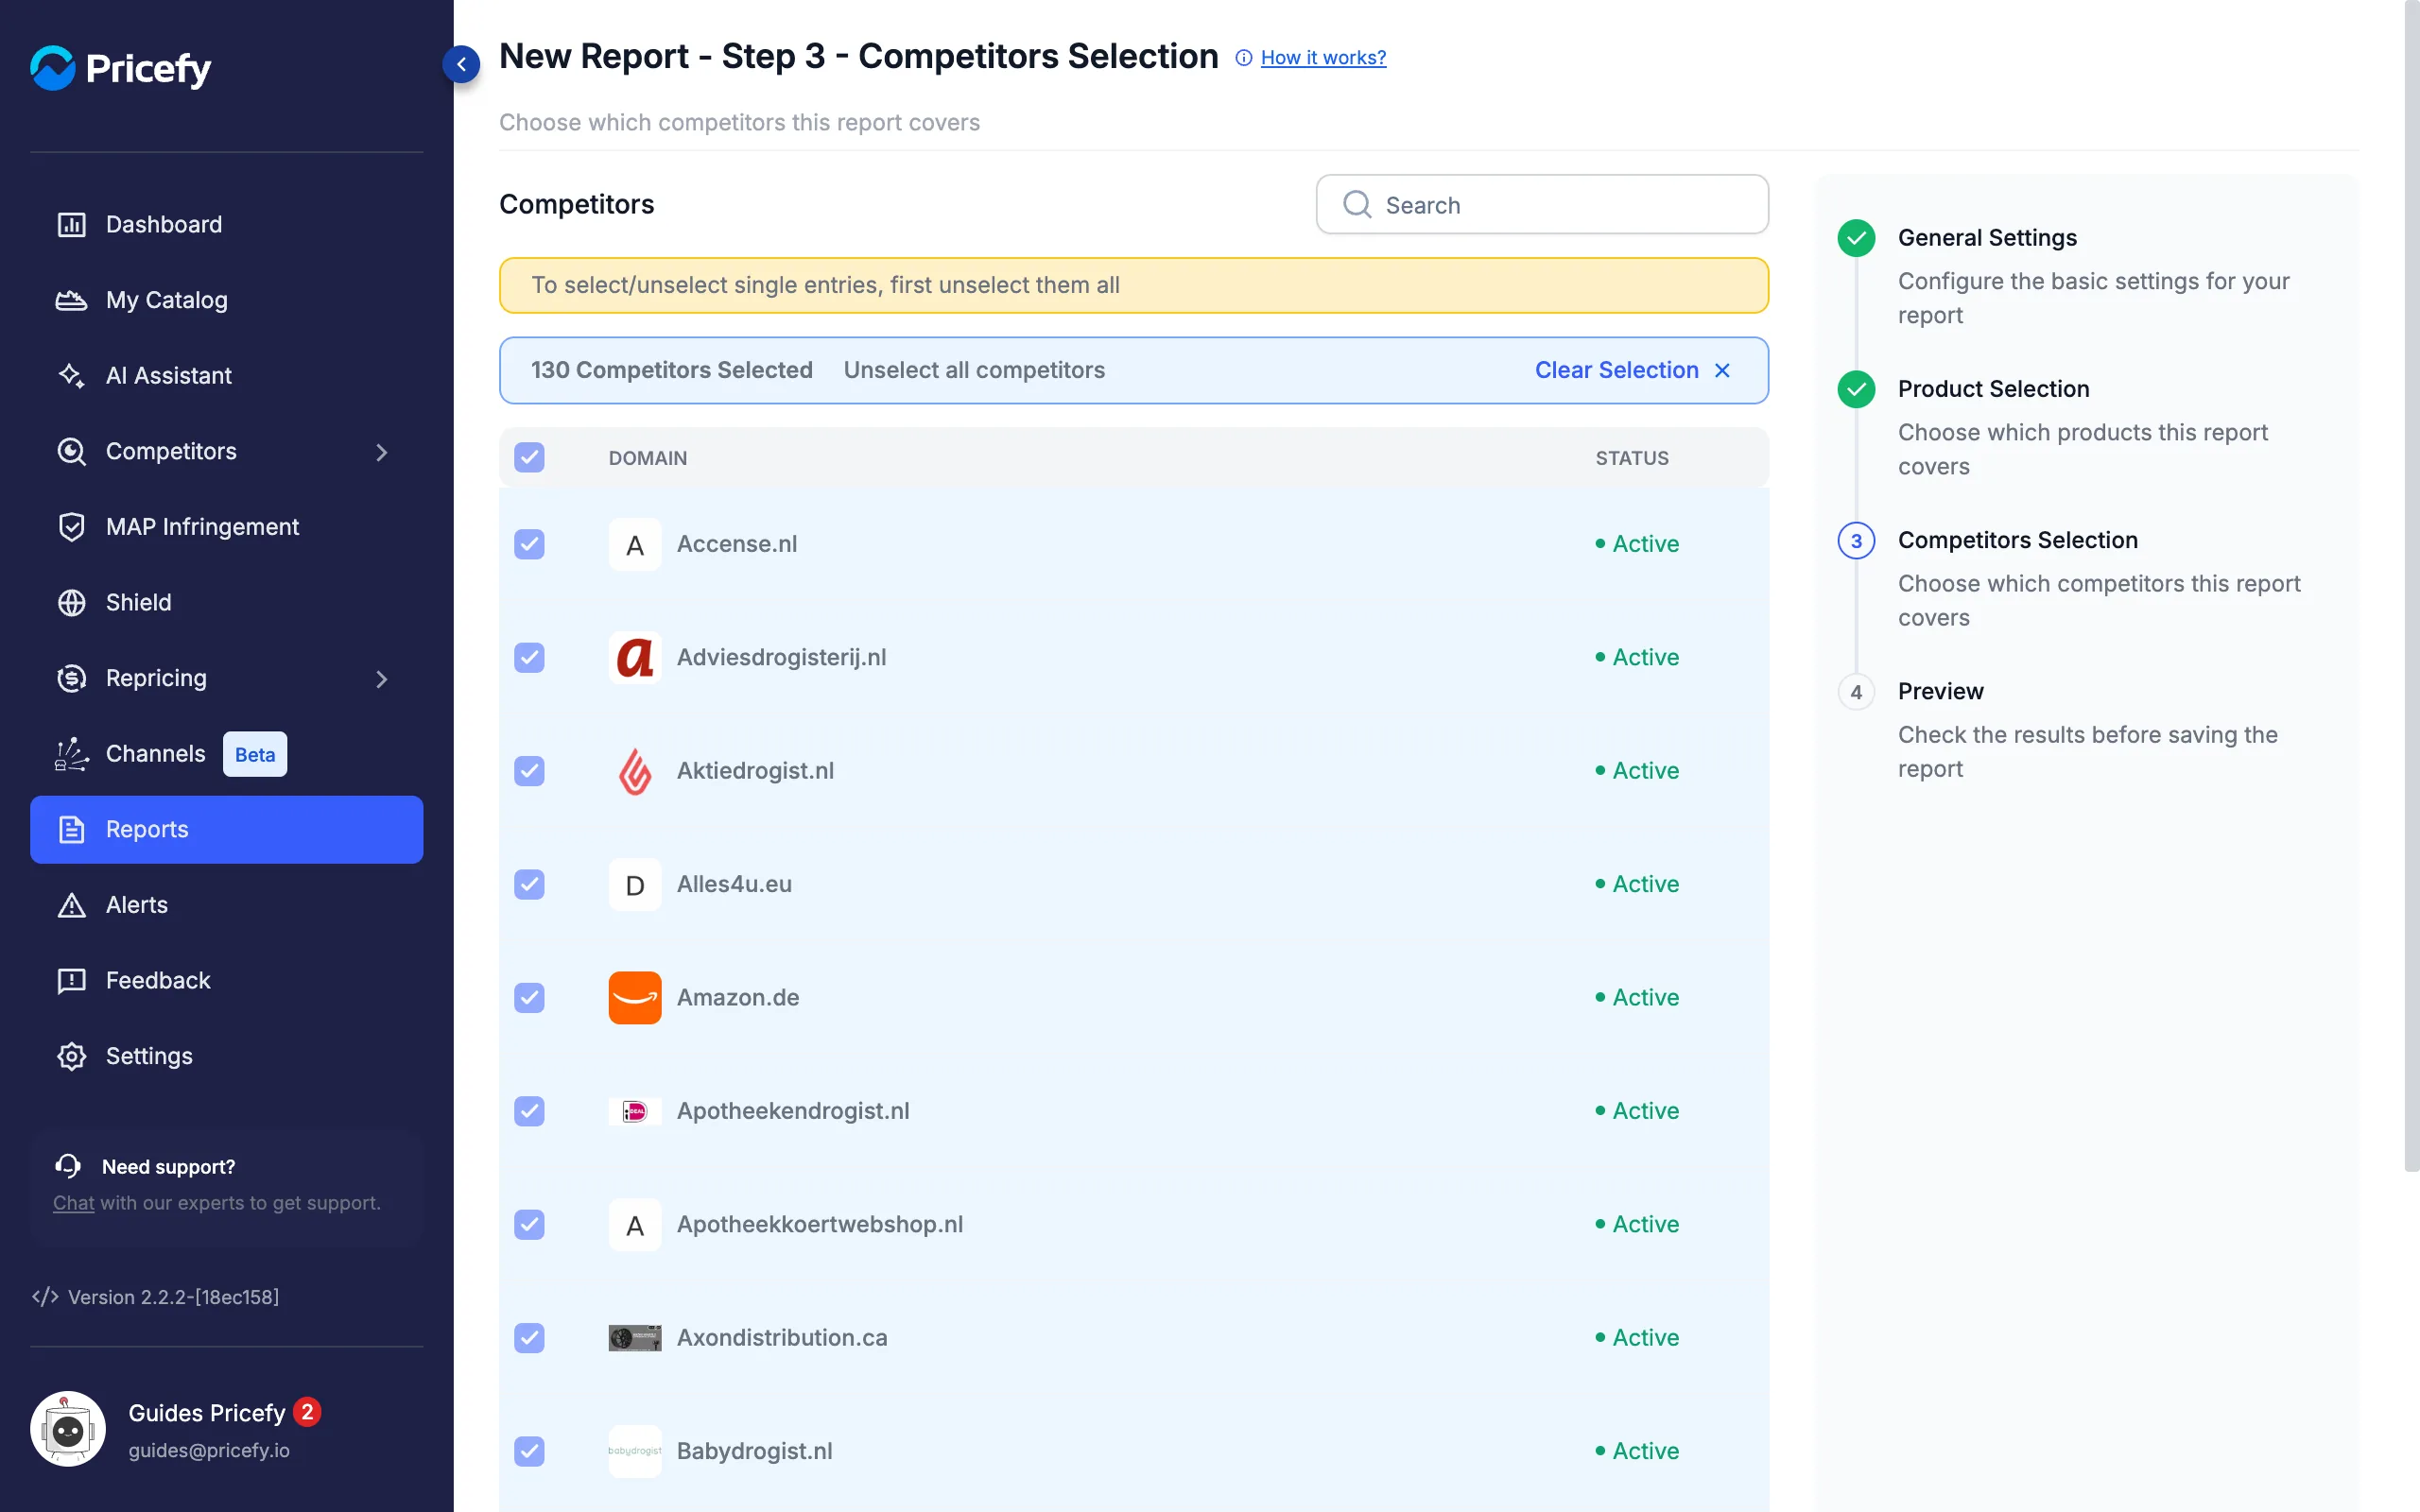
A few templates skip a step — for example Products without a MAP has no competitor step — and Competitor summary asks you to select exactly one competitor.
Step 4 — Preview
The last step applies the template to the products and competitors you chose and shows the first 10 results; the file will include every result and every column:
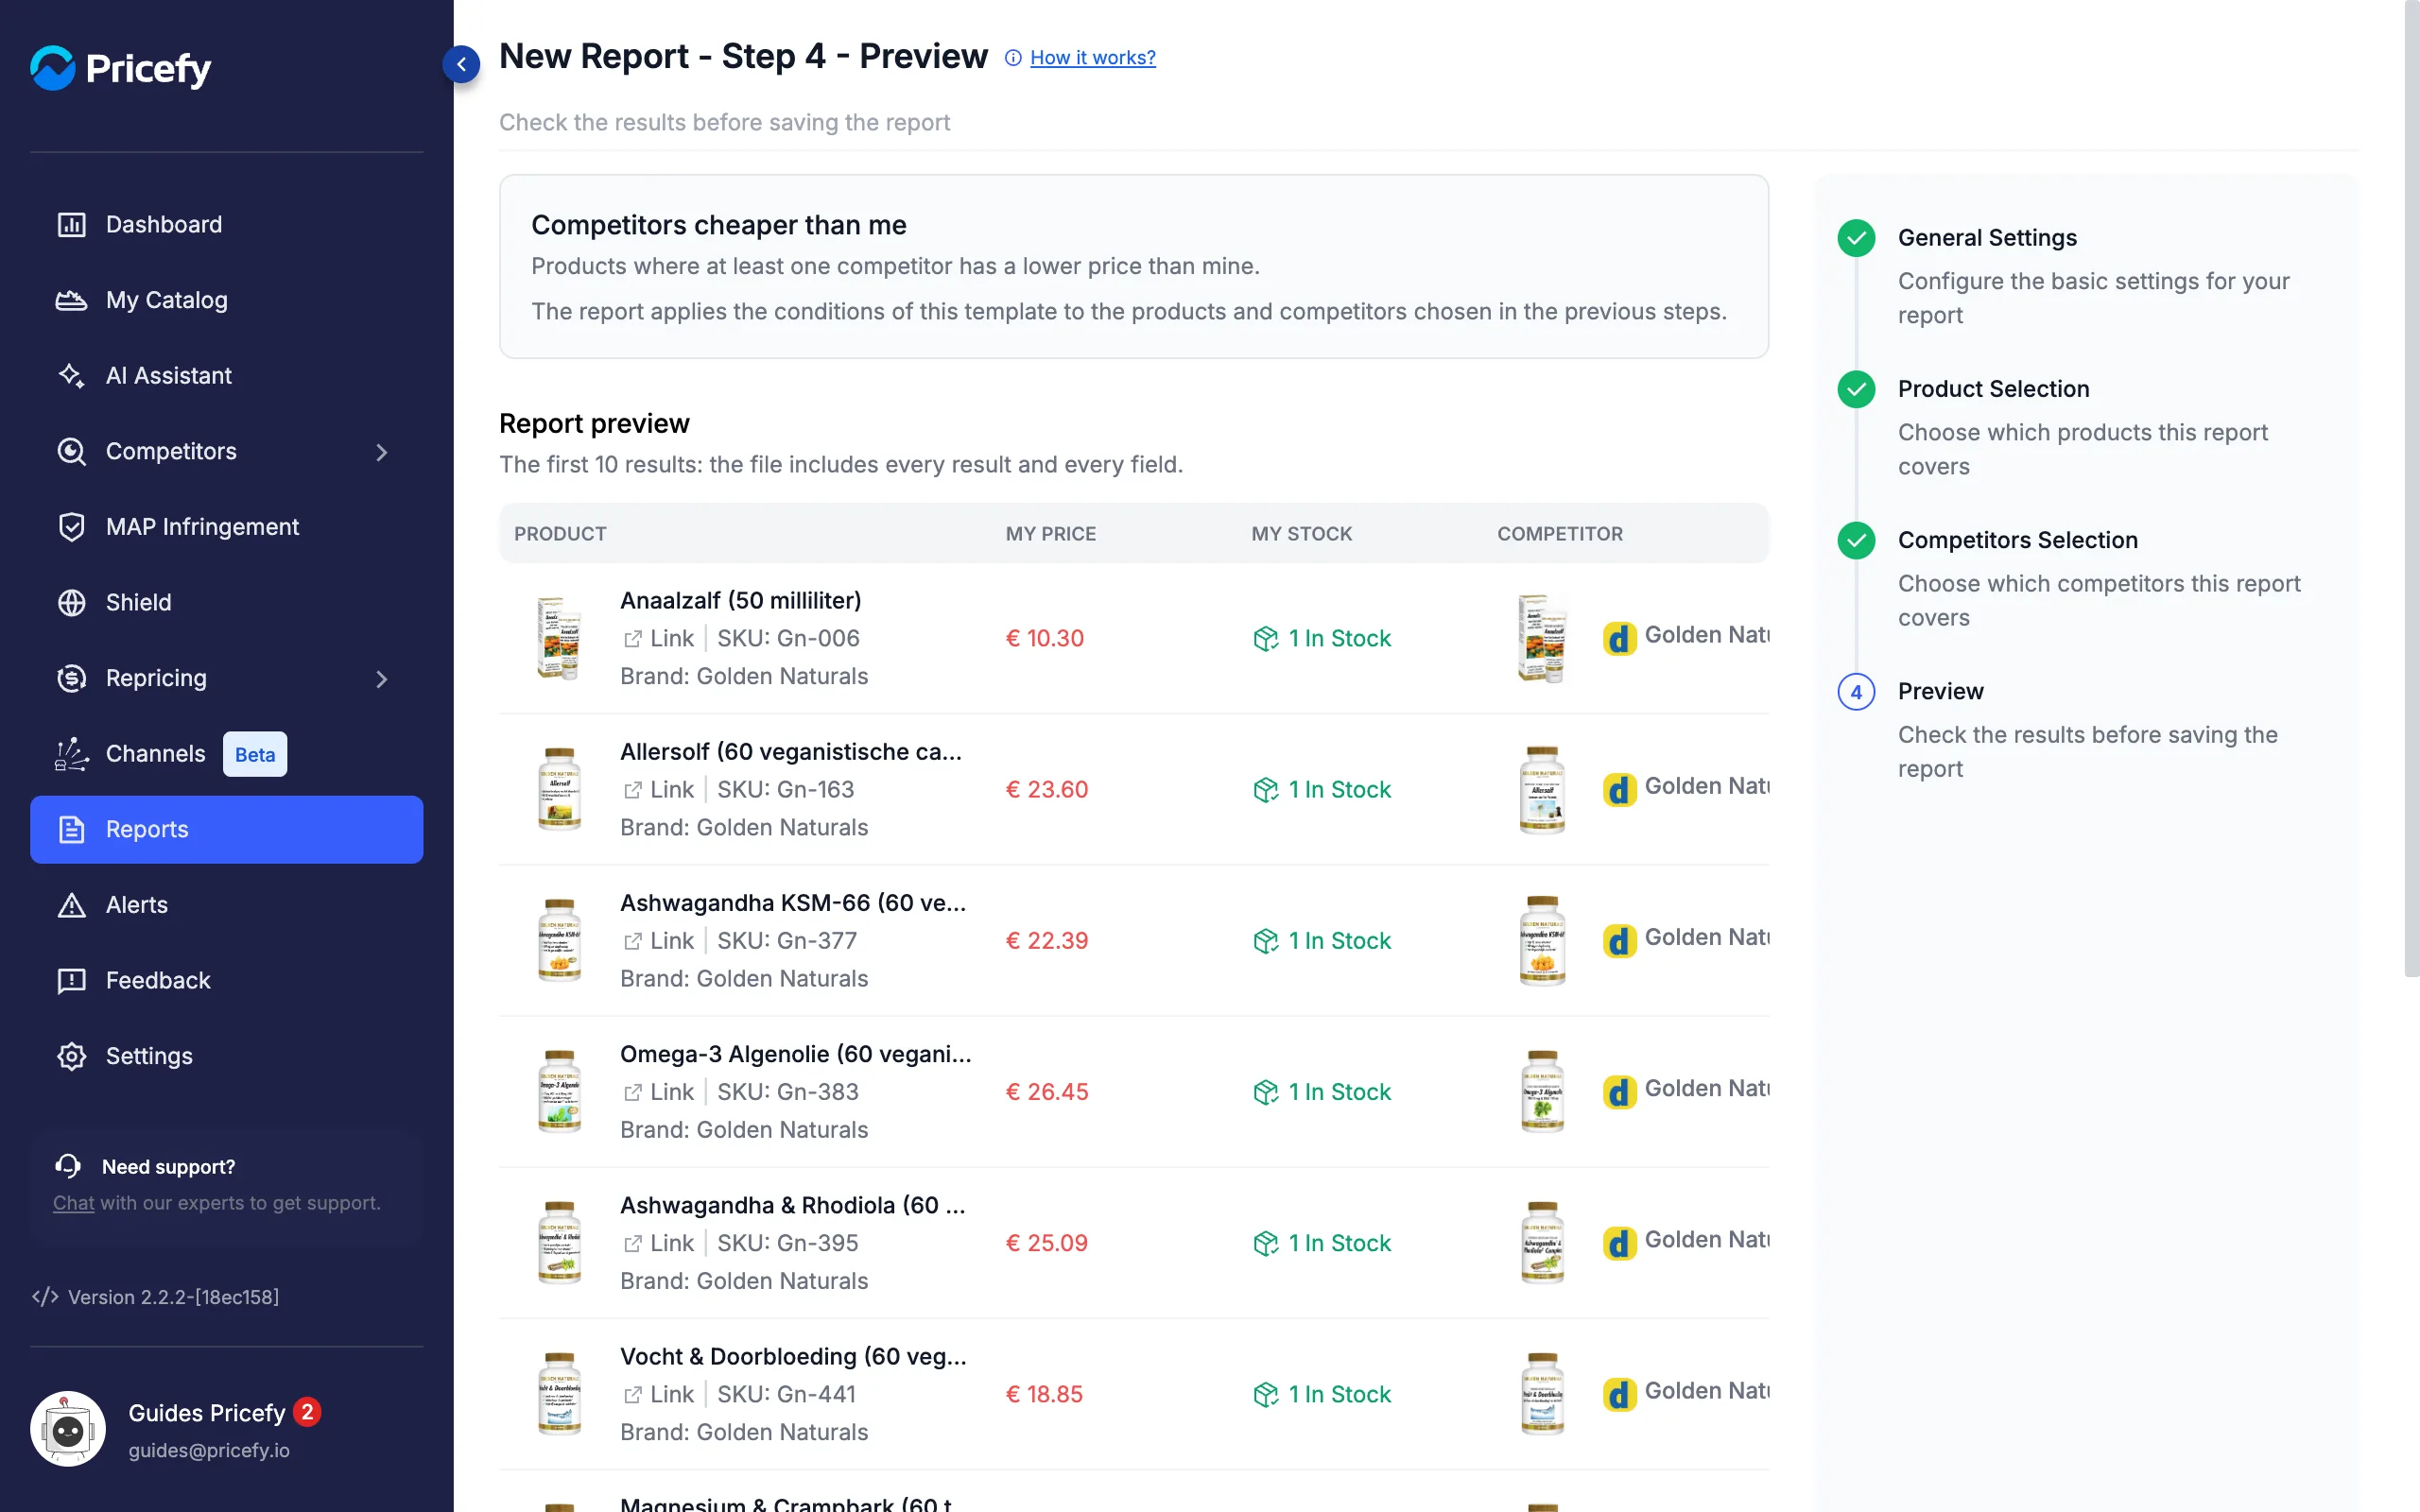
Templates about a period of time (such as Competitor price drops) or about stale data (Outdated data) call this step Settings and Preview and add an option at the top — Period or Outdated after. Change it, then click Refresh preview.
Click Create Report to save it.
Create a custom report
For a full export of your data, choose Create a custom report in the gallery and click Next. The custom builder has two steps: General Settings and Product Selection.
In General Settings, Report Section sets which data the report is built from:
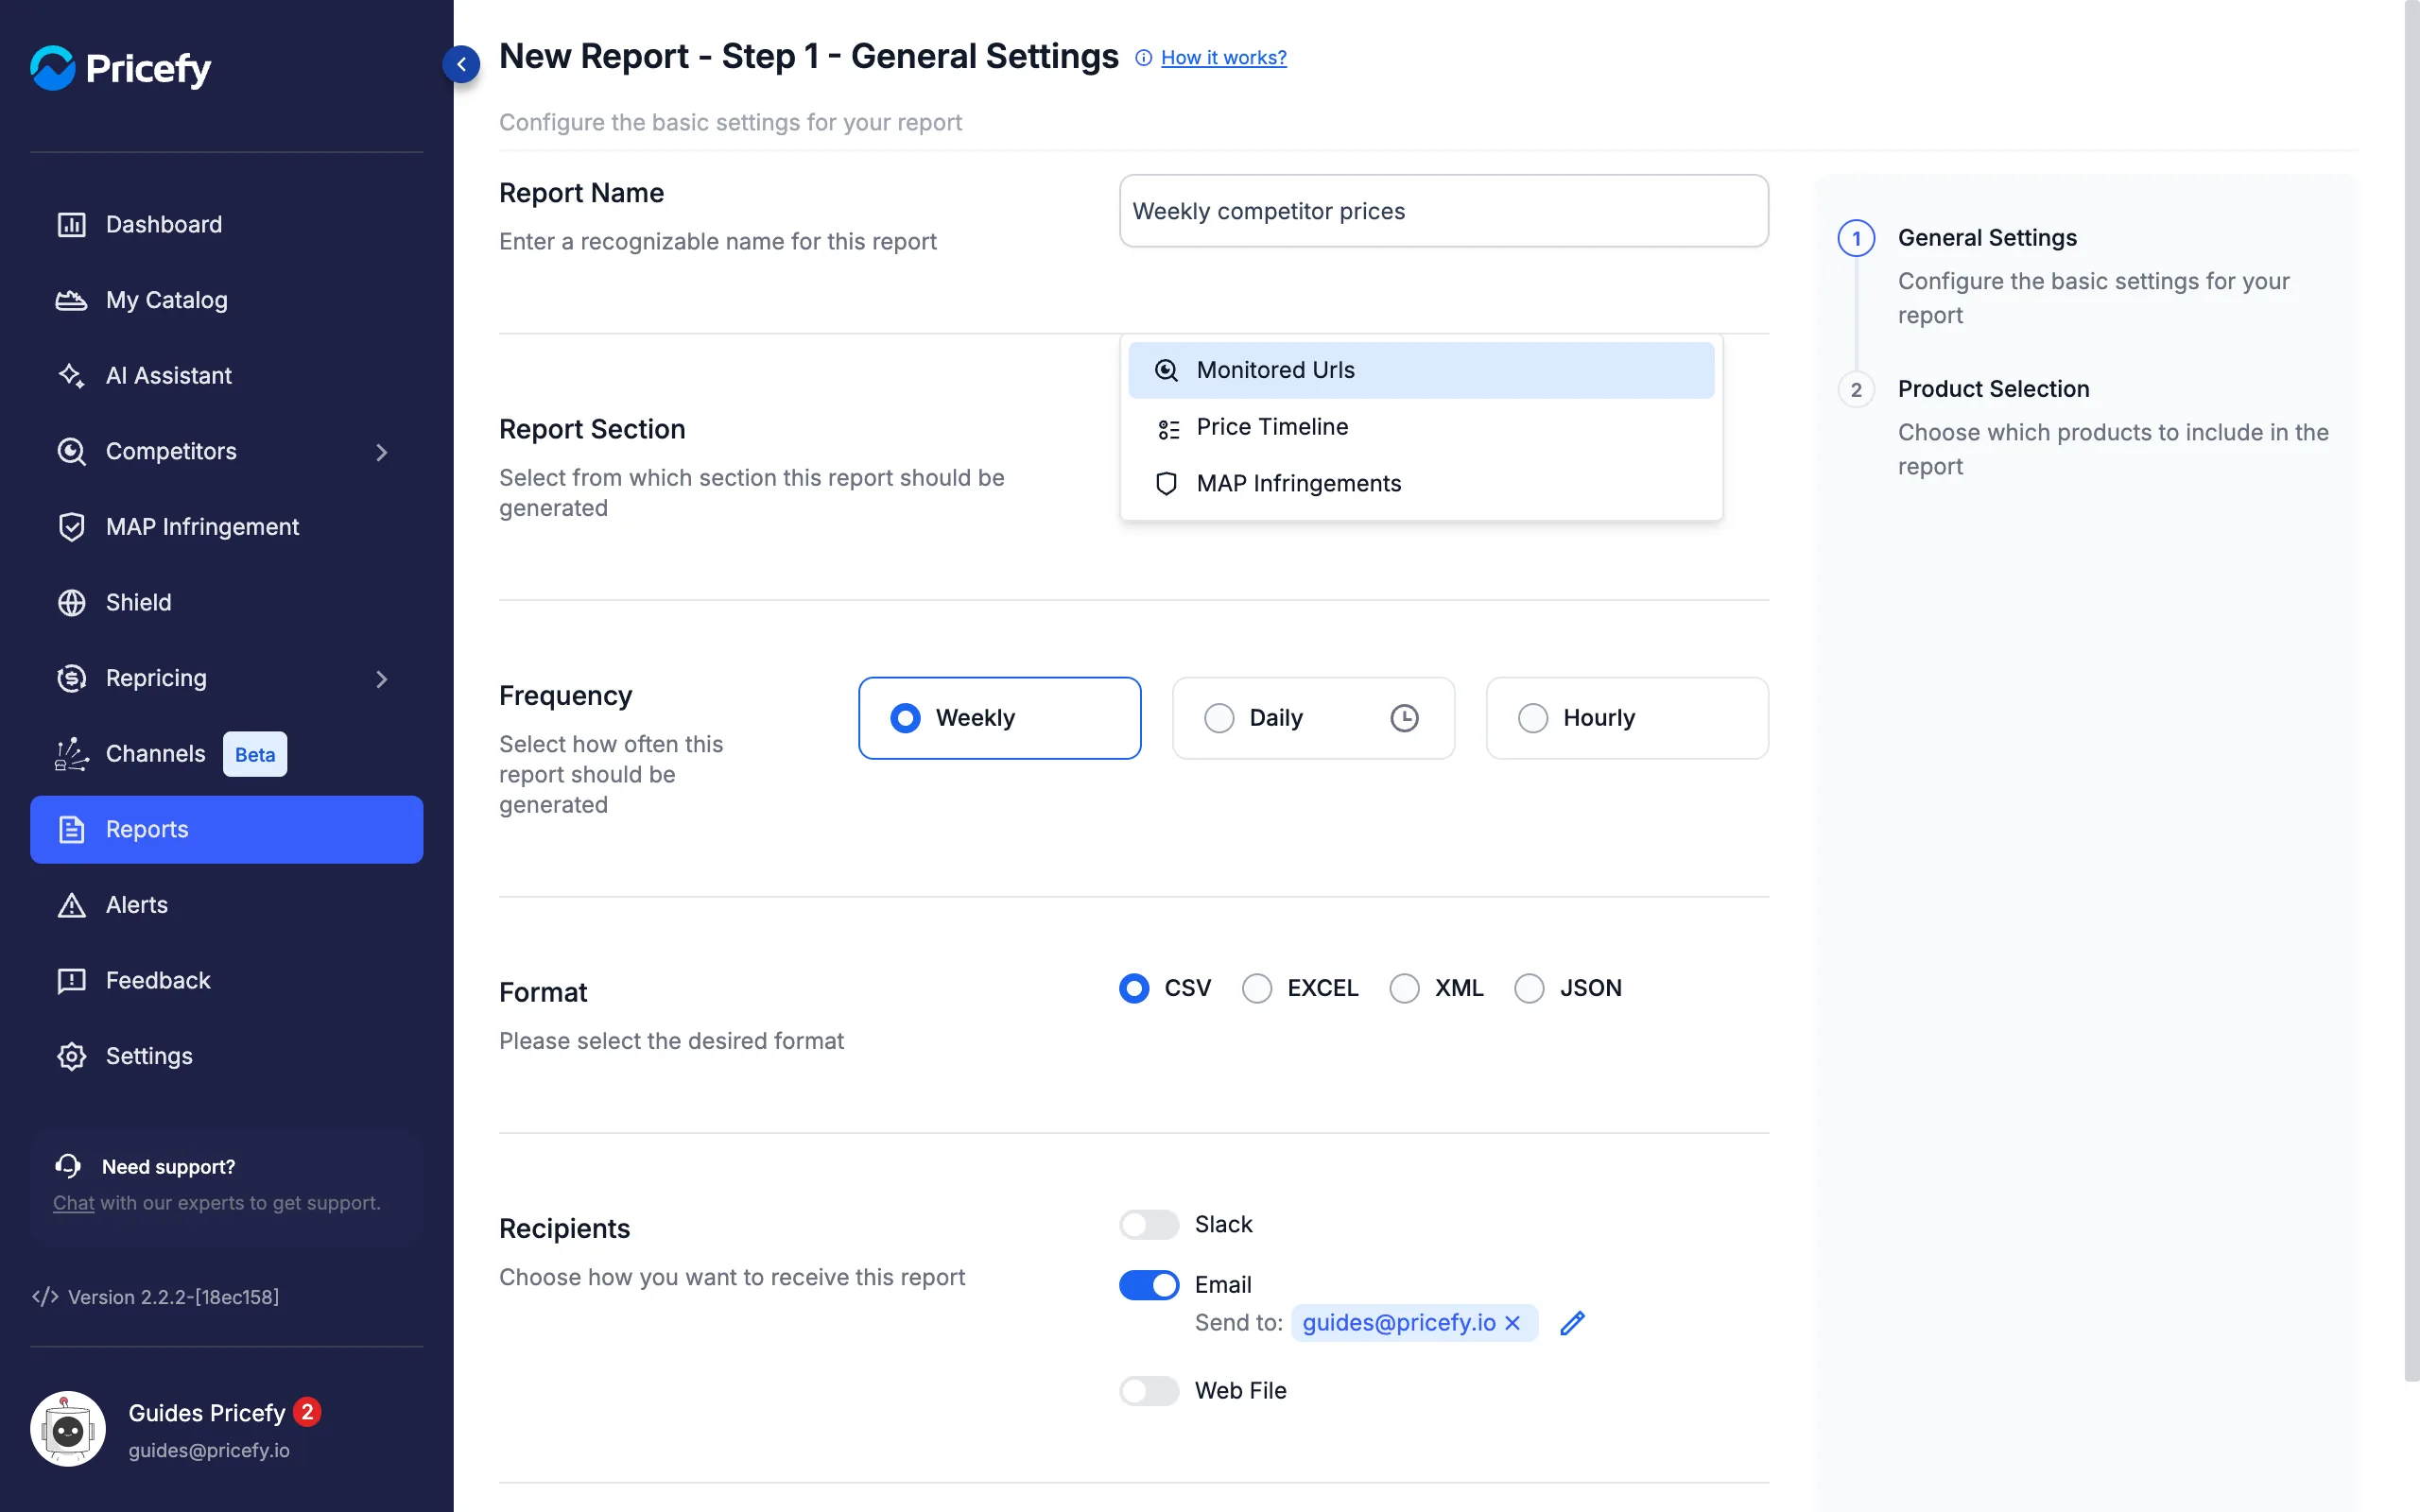
- Monitored Urls — the competitor URLs you track and their latest prices.
- Price Timeline — how prices have changed over time.
- MAP Infringements — your competitor offers compared with your MAP.
Name, Frequency, Format and Recipients work as in a template report. In Product Selection, choose the products as described above, then click Create Report.
This short video walks you through the custom report builder:
Choose the recipients
Recipients controls how the finished report is delivered. Turn on at least one option:
- Email — send the file to one or more addresses. Your login email is added by default.
- Web File — publish the report at a fixed web address. Copy the Remote File Address to download or share it.
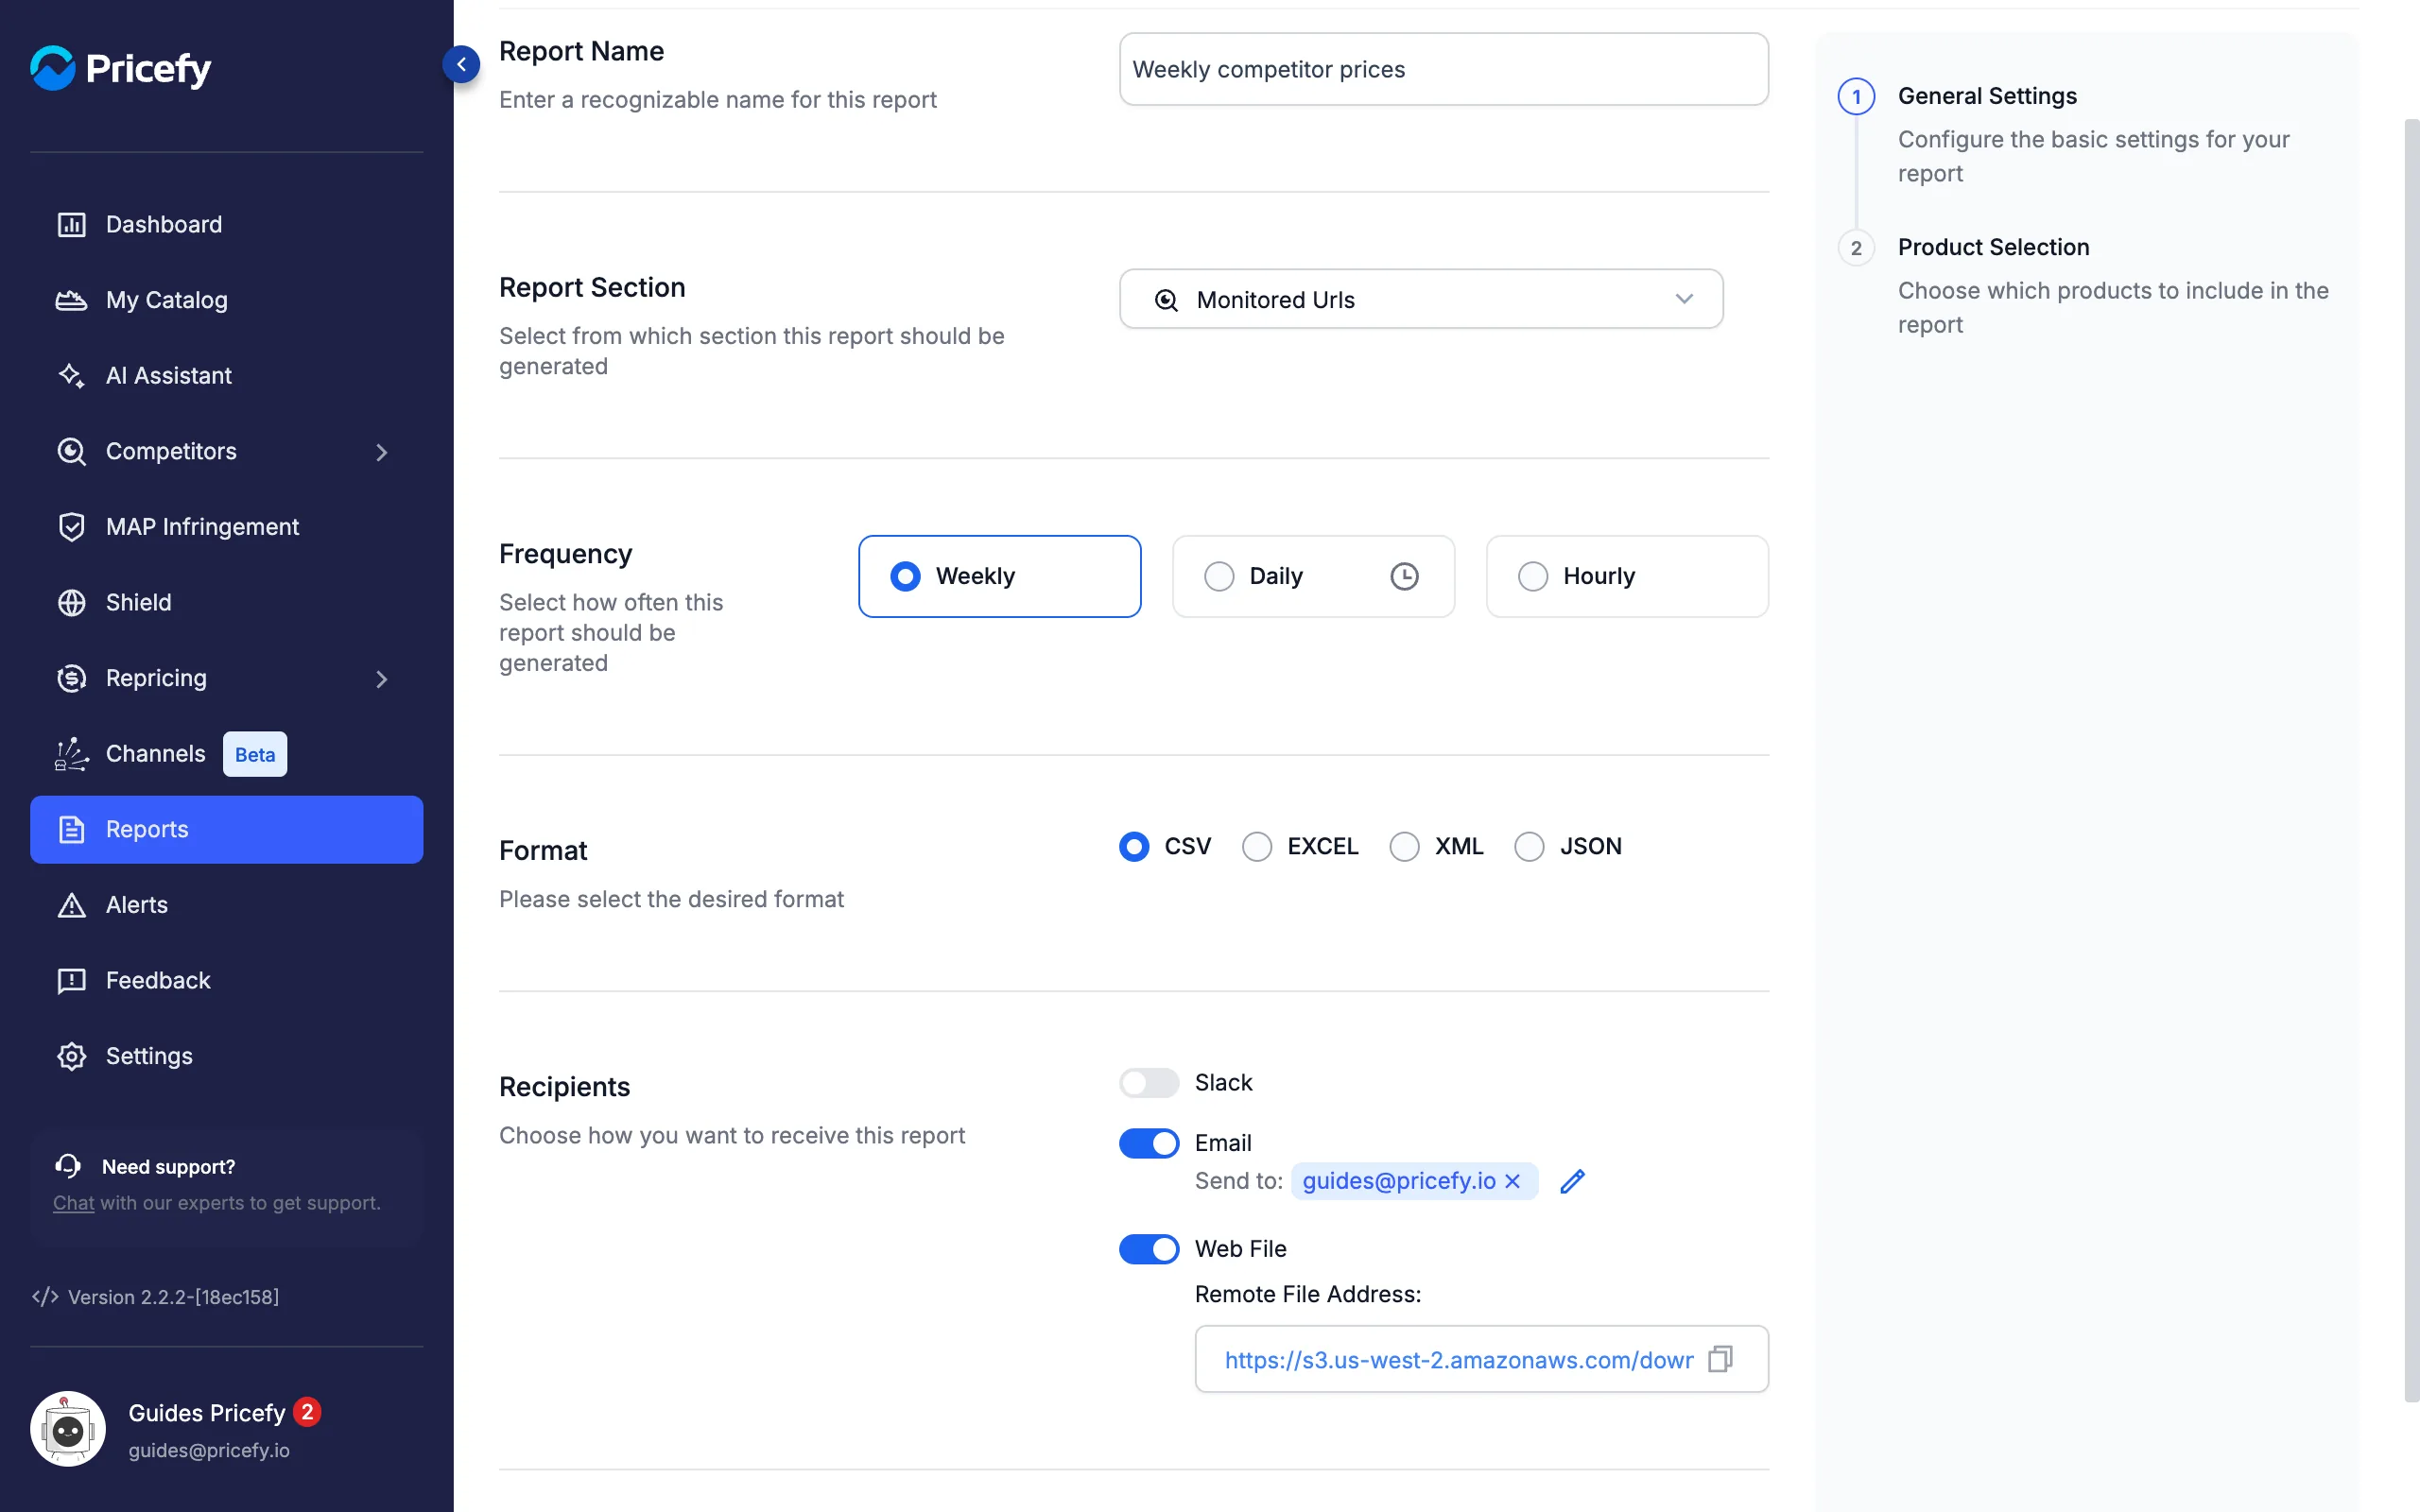
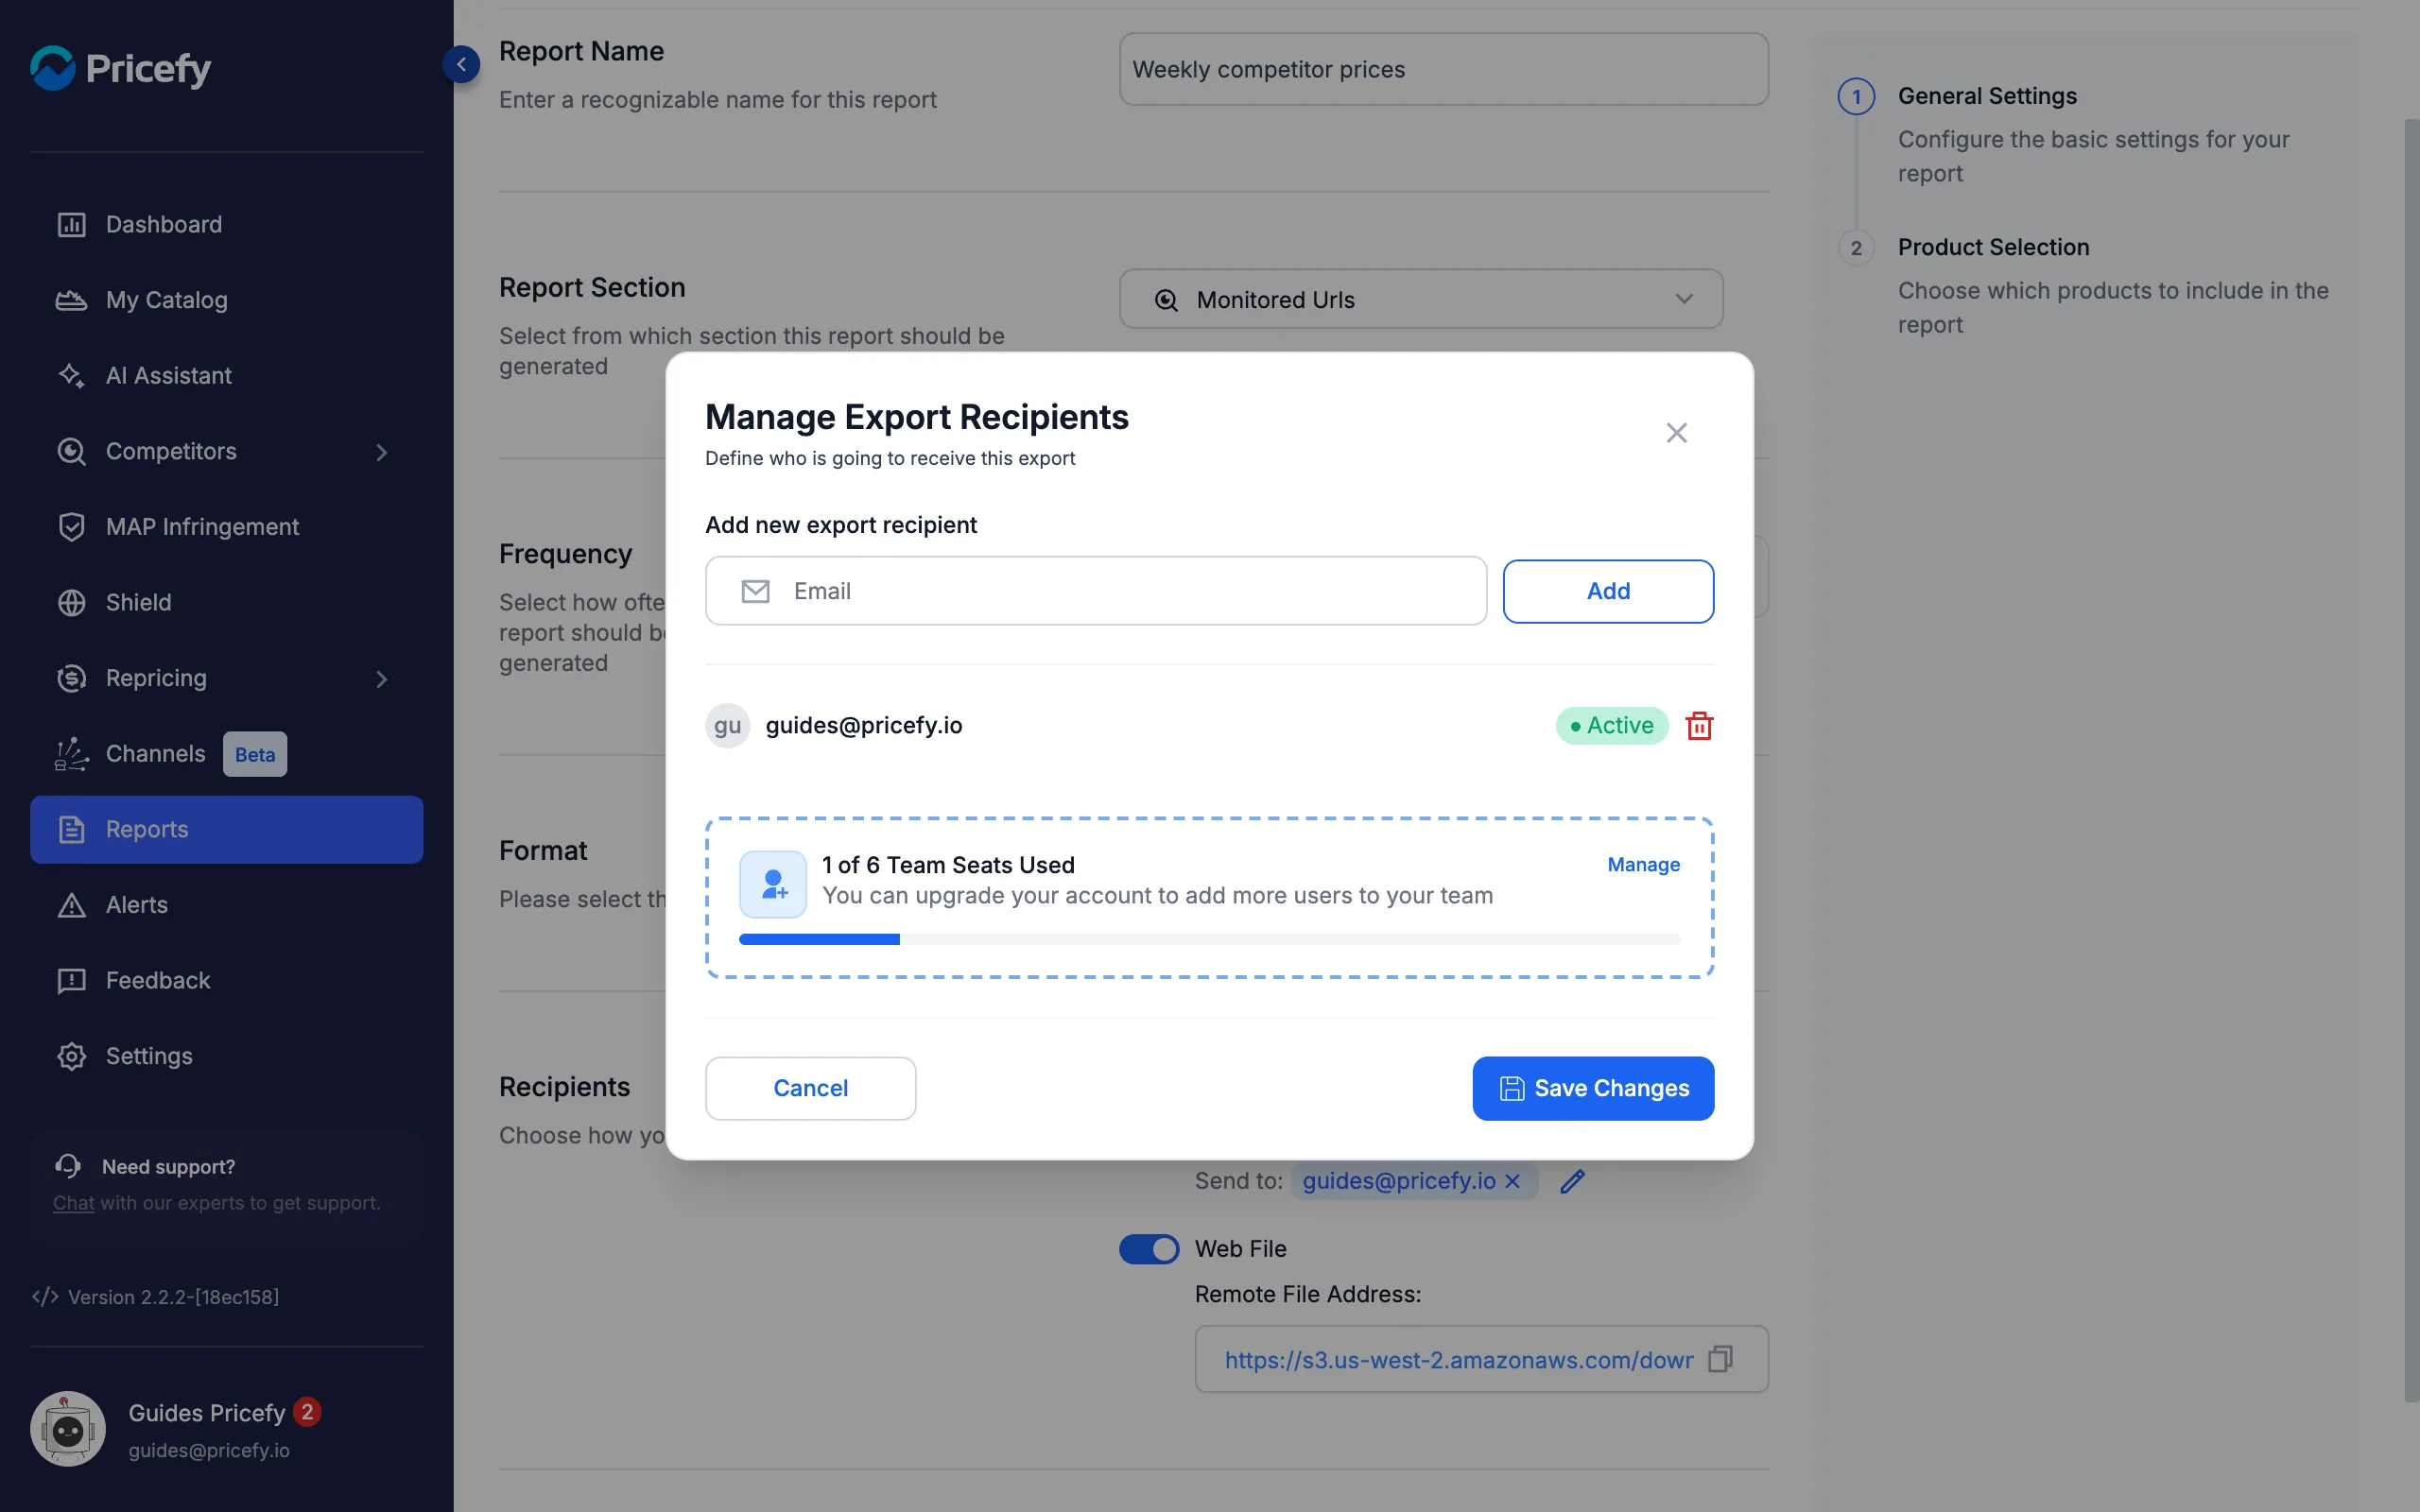
To change who receives the email, click the pencil next to the addresses. In Manage Export Recipients you can add an address, remove one, or include your team members, then click Save Changes:
The Slack switch is visible but not available yet.
Good to know
- Plans — Daily reports and Web File delivery need Pro or higher; Hourly reports need Business. If you pick an option your plan doesn’t include, Pricefy shows an upgrade prompt.
- Manage your reports — run a report now, pause, edit or delete it from the Reports page: see Reports: manage your scheduled exports.
- Brand accounts see Resellers instead of Competitors in the gallery and in the steps.
- MAP reports — for the six MAP templates, see how to schedule MAP violation reports.