To create a report in Pricefy, you choose what data it covers, how often it runs, the file format, who receives it, and which products to include — then Pricefy generates and delivers it automatically. A report is a scheduled export of your data, and you build it in two short steps.
Open the report builder
On the Reports page, click Create Report. The builder opens on Step 1 — General Settings, with Step 2 — Product Selection to follow.
Step 1 — General settings
Name your report
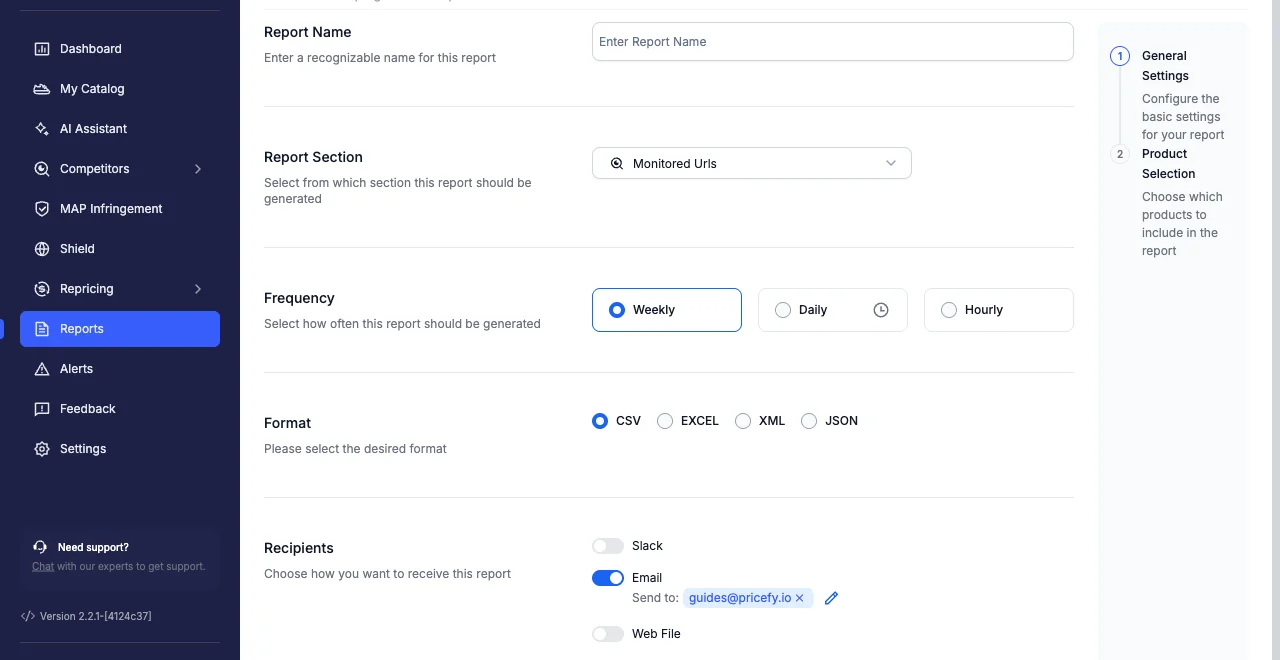
In Report Name, enter a recognizable name so you can find the report later in your list.
Choose the data section
Report Section sets which data the report is built from:
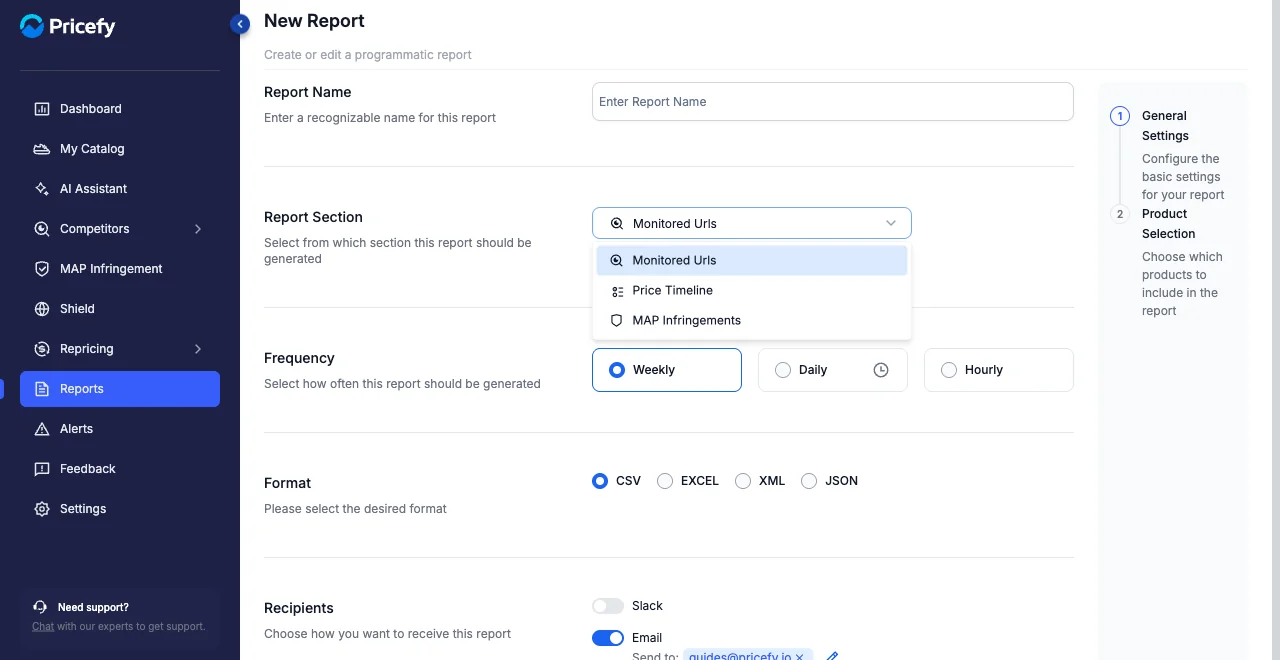
- Monitored Urls — the competitor URLs you track and their latest prices.
- Price Timeline — how your products’ prices have changed over time.
- MAP Infringements — products where a competitor is selling below your MAP.
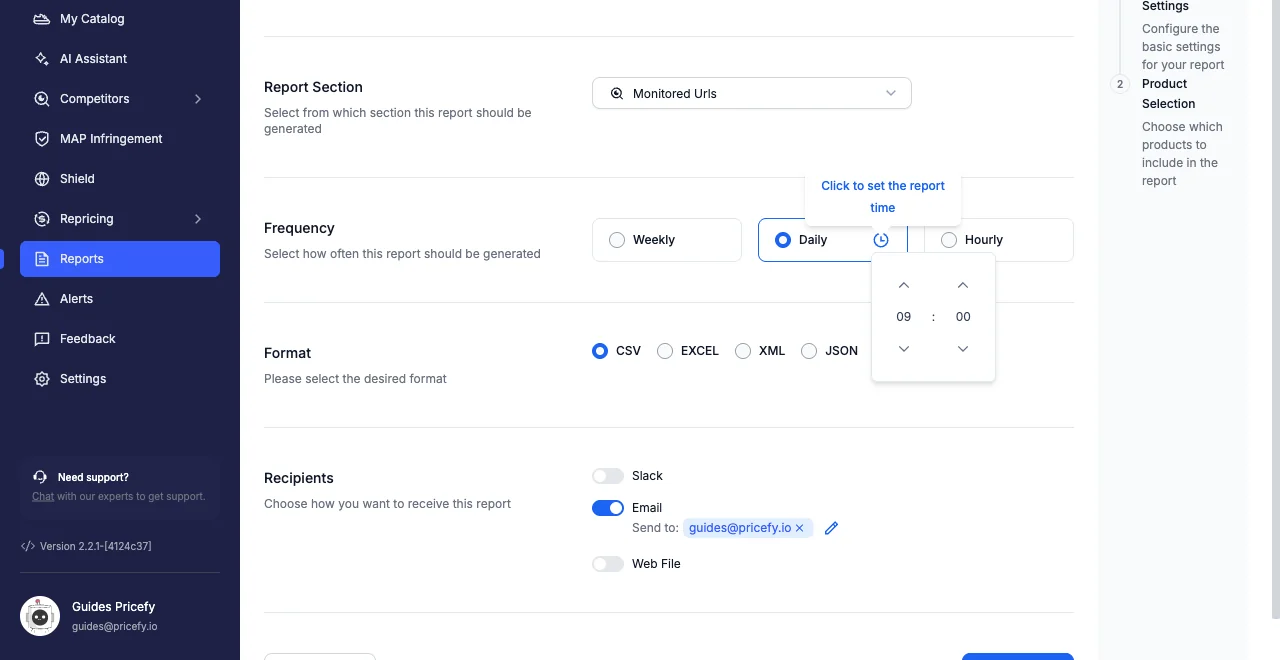
Set the frequency
Frequency decides how often the report runs:
- Weekly — once a week.
- Daily — once a day. Click the clock icon to set the time of day it should run.
- Hourly — every hour.
Daily and Hourly schedules require a higher plan; if yours doesn’t include them, Pricefy prompts you to upgrade.
Pick the file format
Format is the file type of the export — choose CSV, Excel, XML, or JSON, whichever your tools or team prefer.
Choose the recipients
Recipients controls how the finished report is delivered. Pick at least one of Email or Web File:
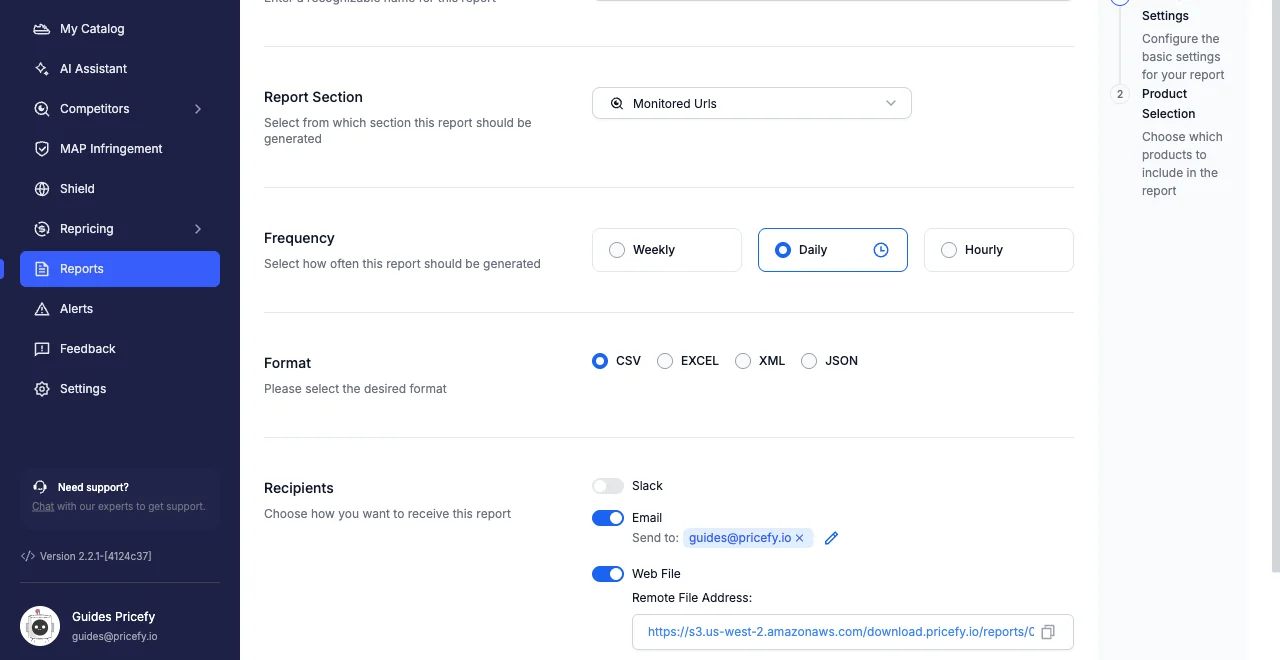
- Email — send the file to one or more addresses.
- Web File — publish the report to a fixed web address. Copy the Remote File Address to download or share it.
- Slack — coming soon.
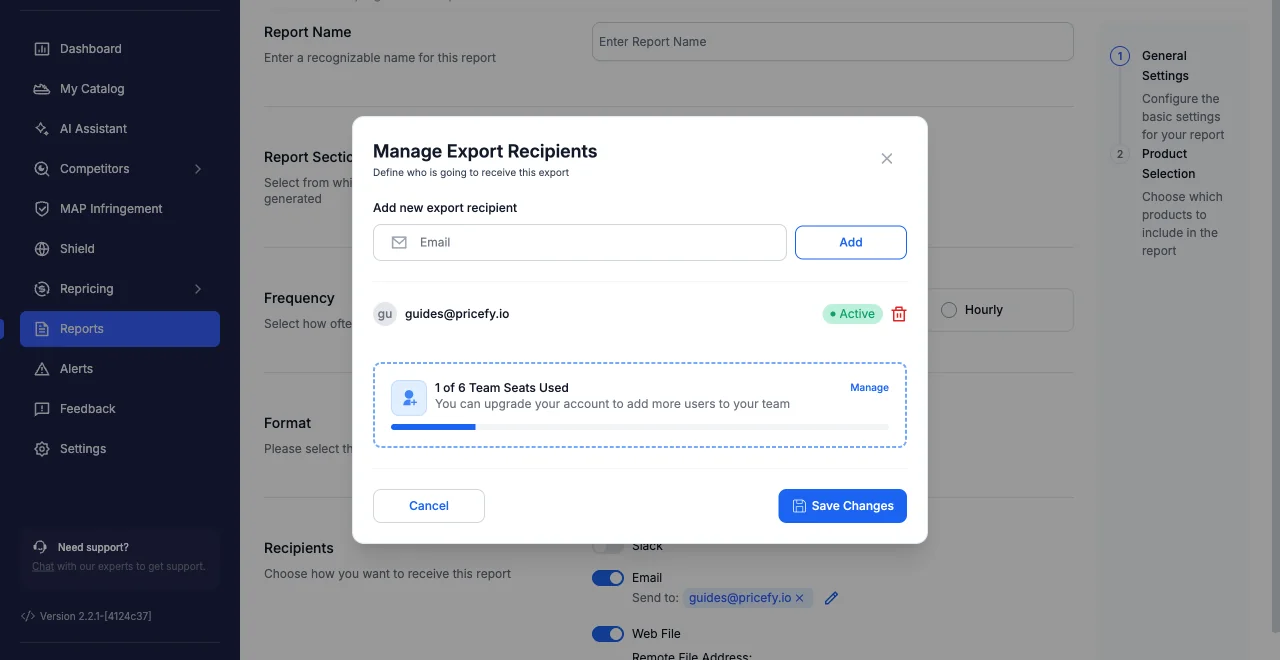
To change who receives the email, click the pencil next to the recipients. The Manage Export Recipients window lets you add an address, remove one, or pull in your team members.
Step 2 — Select products
Click Next to choose which products the report covers. By default every product is included.
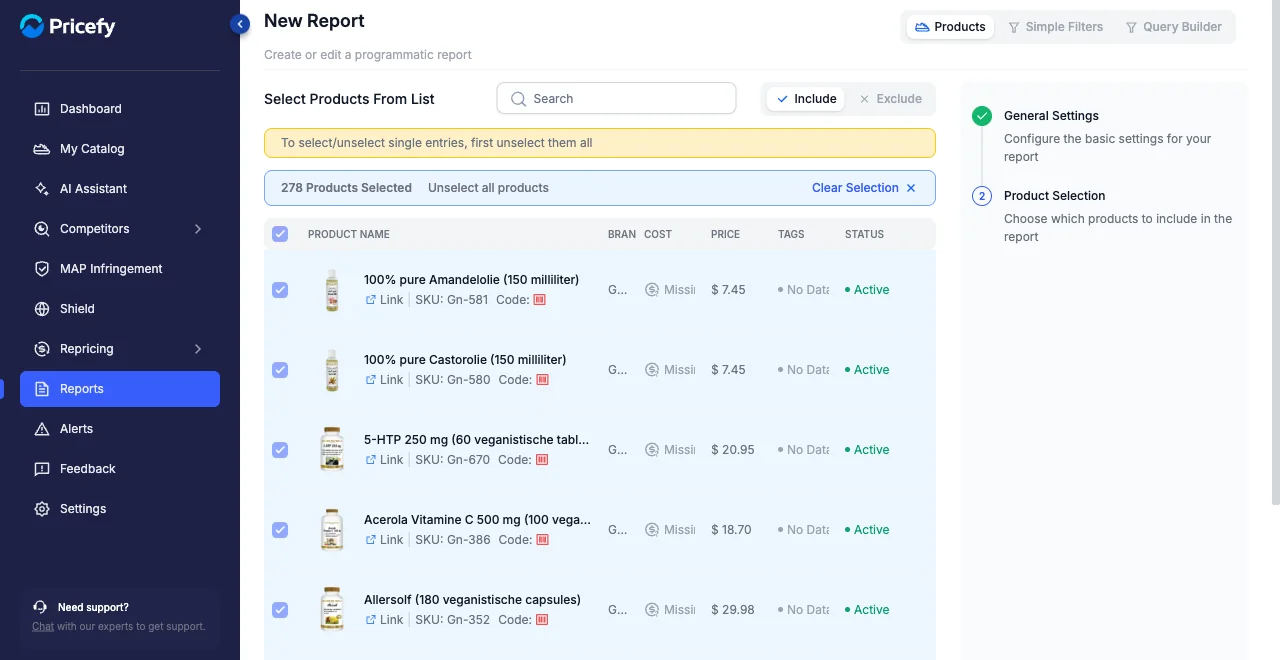
To narrow it down, use one of the three tabs:
- Products — tick individual products from the list. Use Search and the Include / Exclude switch to refine the set.
- Simple Filters — build a quick filter set from conditions like brand or status, and save it to reuse later.
- Query Builder — combine conditions for advanced, precise selections.
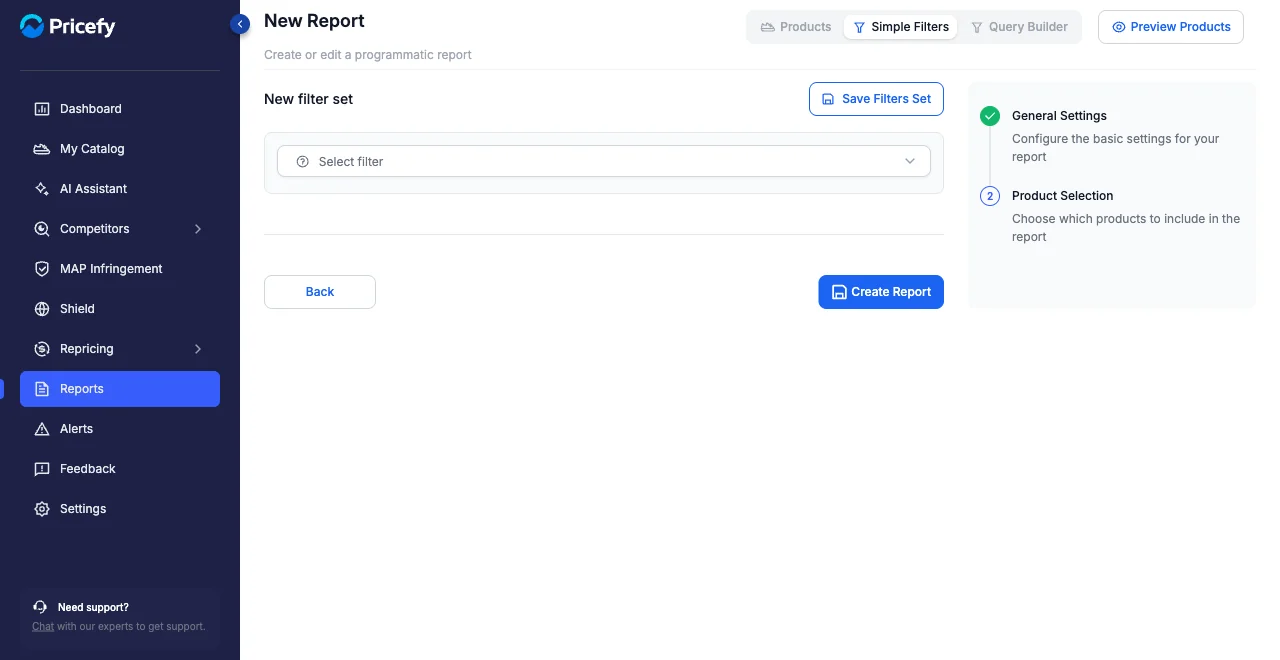
Use Preview Products to check exactly which products match before you save.
Save the report
Click Create Report to finish. Your new report appears on the Reports page and runs on its schedule from then on — see Reports: manage your scheduled exports to run, pause, edit, or delete it.