API Keys let you connect your own apps to Pricefy through its REST API. Each key has its own name, status, and permissions.
Open API Keys
Click Settings in the sidebar, then the API Key tab. The API Key tab is available to the account owner (master user).
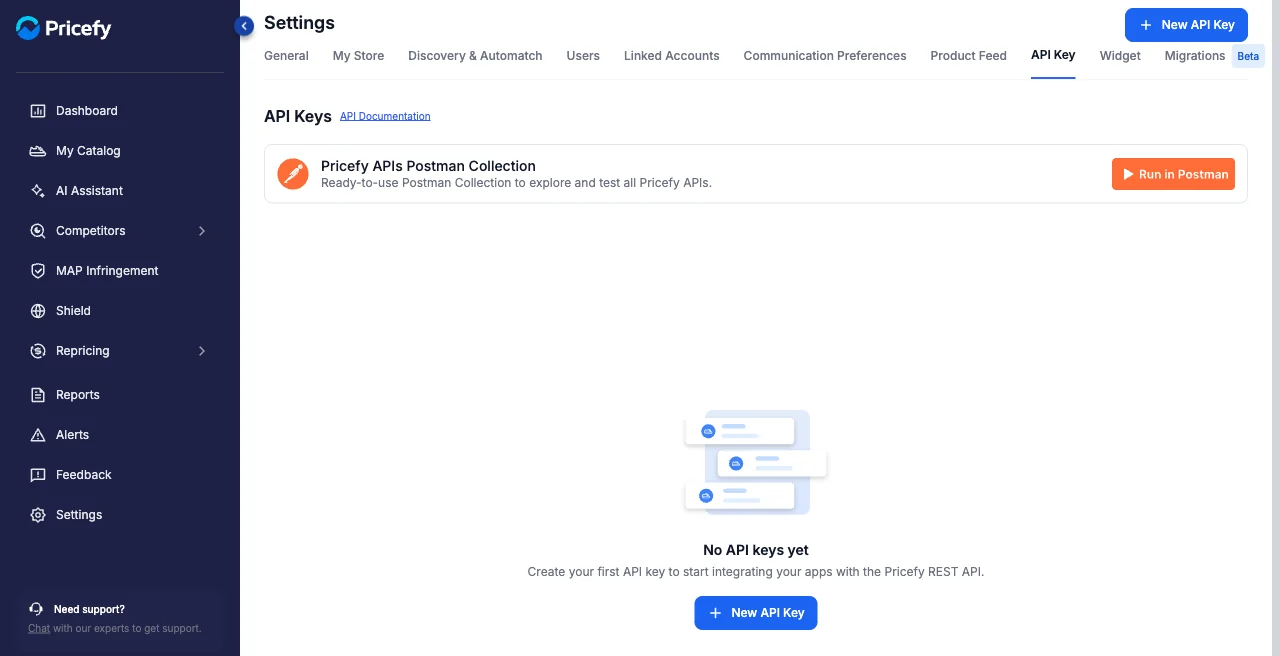
The API Documentation link and the ready-to-use Postman collection help you explore and test every endpoint.
Create a key
Click New API Key, give it a recognizable Name, and keep its Status enabled.
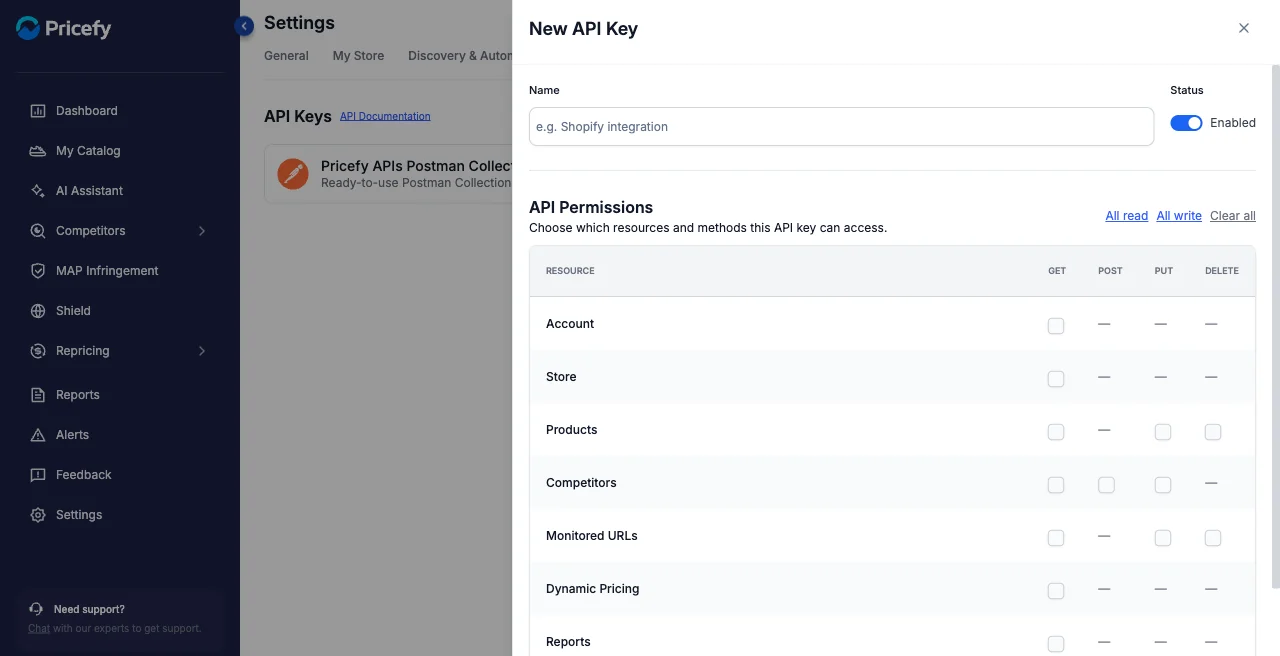
Set its permissions
Under API Permissions, choose exactly which resources and methods the key can use — GET, POST, PUT, or DELETE per resource (Account, Store, Products, Competitors, and more). Use All read, All write, or Clear all to set them quickly, then click Create Key.
After you click Create Key, copy the key right away and store it somewhere safe — for security the full key is shown only once.
Manage your keys
Each key in the list has an Actions menu:
- View Logs — see every request the key has made (timestamp, endpoint, method and path, response status and duration).
- Edit — rename the key or change its permissions.
- Disable / Enable — temporarily turn the key off, then back on.
- Revoke — permanently invalidate the key (you’ll be asked to confirm).
API limits
Your API key works within these limits:
| Limit | Value |
|---|---|
| Requests | 3,000 per minute |
| Team invites | 20 per hour |
| Products per bulk upsert | 50 |
| Monitored URLs per batch upsert or delete | 50 |
| SKUs per repricing apply | 30 |
| Page size | 25 by default, 100 max |
Every response includes X-RateLimit-Limit and X-RateLimit-Remaining, so your app can always tell how much of the budget is left.
If you go over the request limit, the API replies with 429 Too Many Requests and a Retry-After header telling you how many seconds to wait before
trying again.
If you send more items than a batch allows, the call is rejected with 400 and nothing is saved: split the payload into smaller calls.
You will find the same table in the API Documentation, linked from the API Key tab.